
Accomplishments
- Exporting the Experience
- Remade Spatial Experiences
Bonus
- Mobile Proof of Concept
This week’s focus has turned back toward the penultimate application of the 3D reconstruction: the spatial experience. New features across the frontend and Blender were built to automate the generation and transfer of information necessary to generate and navigate a 3D scene. In addition, I spent some free time preparing a proof of concept on a mobile device.
Exporting to Experience
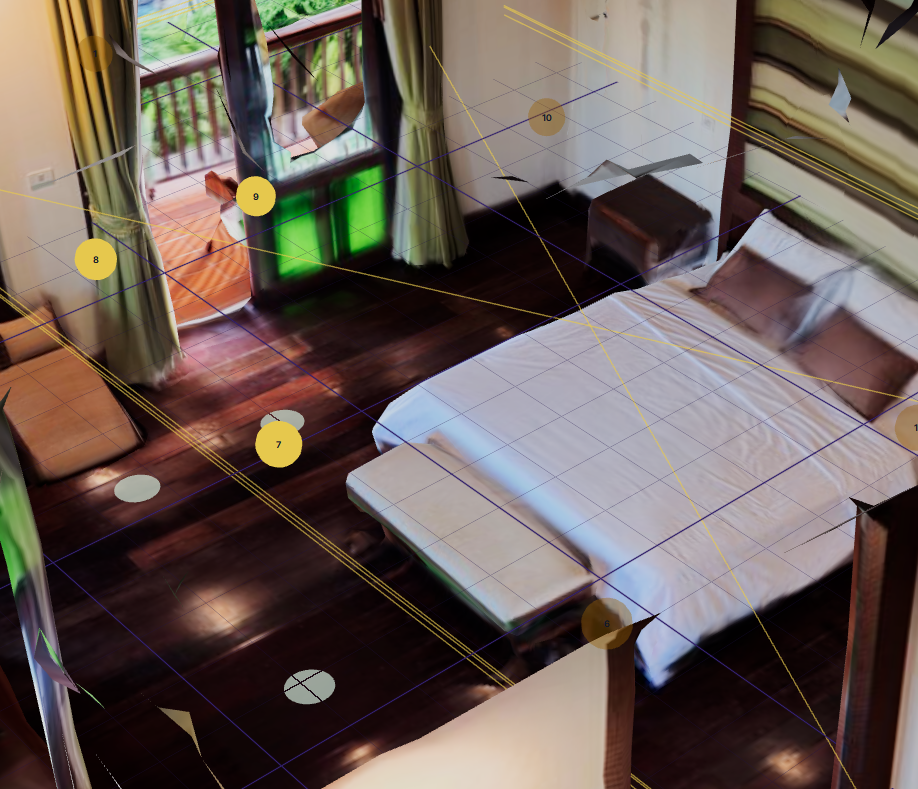
To take the information we have in the frontend and view it in a bespoke virtual tour, we must transfer and translate it in a way that the virtual tour software can use. The 3D model and textures are simple enough to copy and export within the frontend, then download like a normal file. Extracting the hotspots was also fairly simple and improved on the process built all the way back in Week 1. Now, rather than manually running a script in Blender, the hotspots will be placed upstream as soon as the point clouds are generated.
Another callback to Week 1 can be seen in the updates to exporting scenes into code that works with the tour-building software. Previously, multiple scripts were used to patch different parts of the experience into the file(s). Now, a single script can be run to prepare a directory and series of compatible files. This reduction in complexity and maintenance comes from many of the core changes and pipelines developed throughout this project. The earlier problems can be solved, the more cohesive the output becomes as it compounds throughout the workflow.
Taking the content generated by the 360 to 3D process and integrating it with the spatial experience connects the tool to its first purpose and gives value to its output.
Remade Spatial Experiences
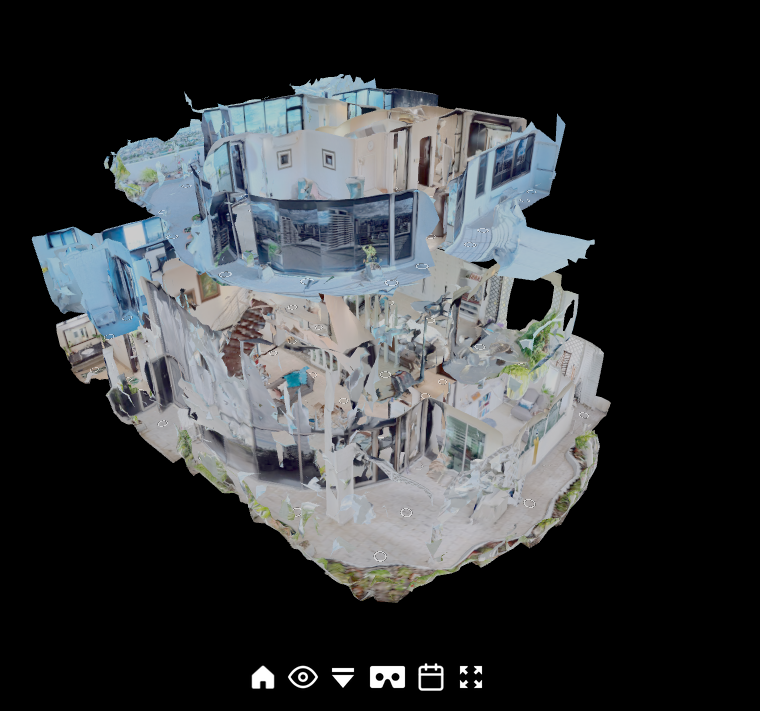
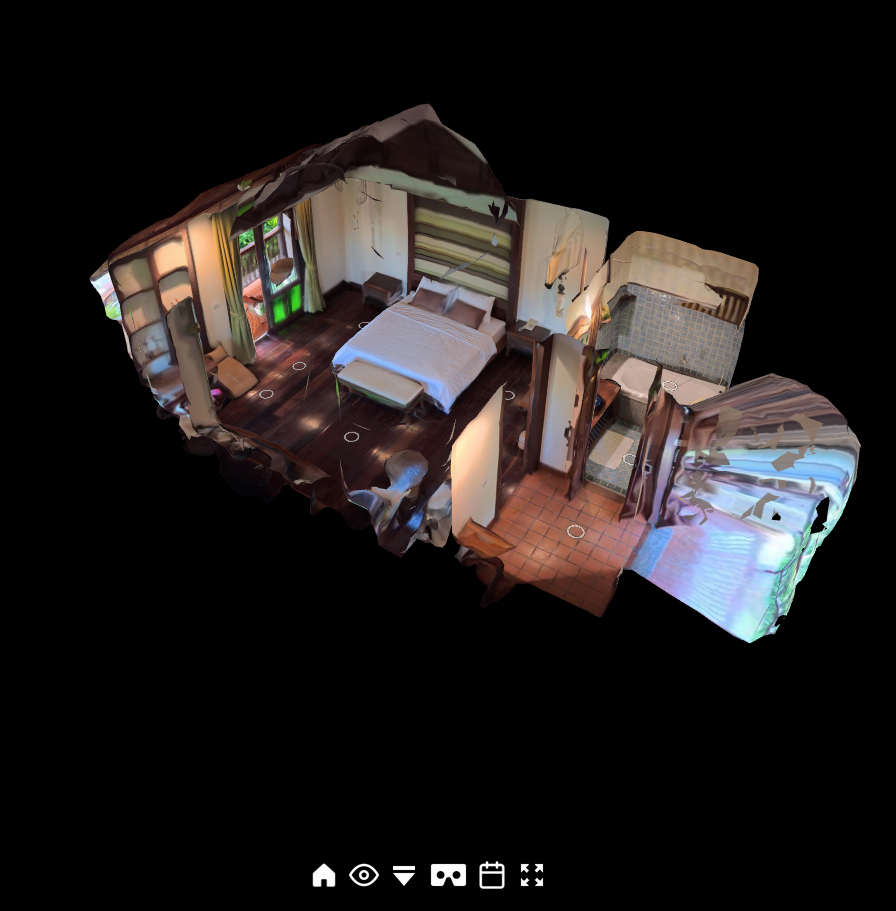
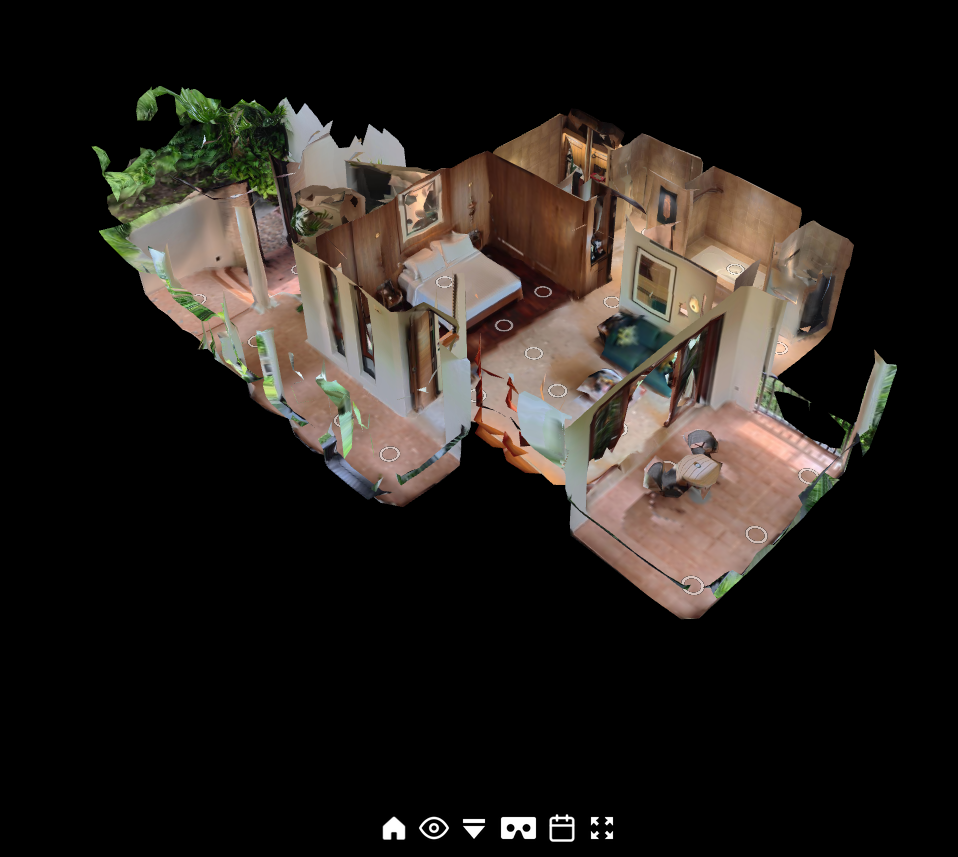
The 3D models for Pattaya, Villa Korbhun, and Supalai Place have all been successfully integrated and tested in their spatial experiences. This integration proves the mesh data can integrate and display well with the tour software. More than anything, it feels incredible to see a tour as complex as the Supalai Place home displayed and navigable in 3D.
Bonus: Mobile Proof of Concept
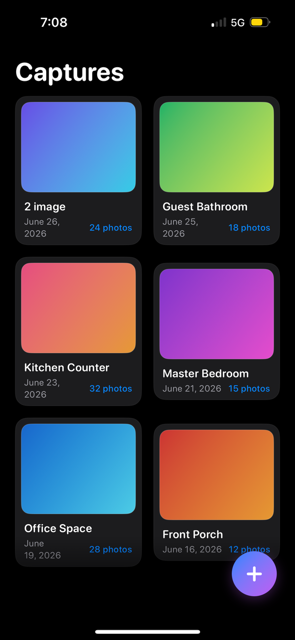
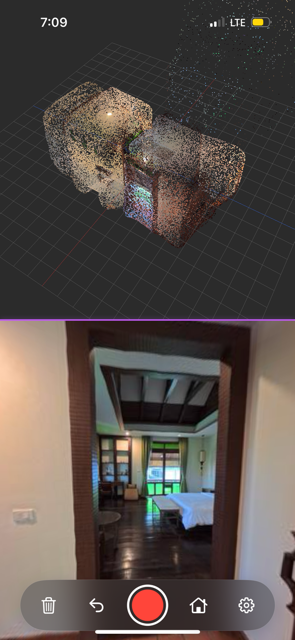
360 to 3D reconstruction has been solved, though some edge cases still persist. Larger tours may need manual intervention to select and connect smaller groups. Some scenes may not pose well together and appear considerably misaligned, affecting the whole environment. Both of these could be fixed with visual feedback during capture.
I decided to see if it would be possible to convert part of the current process to run on a mobile device, targeting the iPhone 14 Pro. The iPhone 14 Pro only makes around 4GB of RAM available to the user and includes a CPU, GPU, and ANU, all powerful though far less so in comparison to the 24GB 4090 GPU I have been testing on. I still persisted in trying, with the understanding that tasks may be limited and slower. I recalled recent developments in model-efficiency techniques, and my familiarity with quantization left me determined to try.
After dozens of attempts, I had experienced and learned a lot about the iPhone’s architecture and processes. Most methods used in PyTorch machine-learning models translate directly into counterparts available for Apple’s ANU chip; however, many do not. These often require replacements with similar but slower code. This translation from a PyTorch model to Apple’s Core ML was fairly simple and straightforward.
What made things more complex was attempting to run inference with this model. Its size began reasonable; however, attempting to run it on the ANU, a chip meant for AI models, led to RAM ballooning, loading far more than the model, and crashing the application. When attempting to use the model, it would load into memory and often load more than its size due to certain compilations of translations for the ANU. One alternative was to run it on the CPU, where the model would remain its size on disk at the cost of slower inference. This worked great, leading to my first successful point cloud from a 360 photo, all performed on an iPhone.
This was a great achievement, though it was far too slow and far too little. At least two images need to be inferenced and compared in order to pose them. With more photos comes more RAM and more time. That pushed the budget close to the limit, and it was very slow.
This is when I began to investigate quantization and palettization, as well as changing the precision value. These techniques help shrink the machine-learning model while preserving quality the vast majority of times. Applying combinations of these techniques to different degrees decreased the memory requirements just enough to leave room for some parts of the application, but not much.
Remember, the 3D scene, user interface, connection to a 360 camera, live preview, and so much more all have to be managed in memory. And each photo means another point cloud, which can take up significant space in memory. A tour of hundreds of photos may take over 1GB. How could we squeeze more space from this machine-learning model?
This is where I learned machine-learning models have different subsections that can be broken down: encoders, aggregators, decoders, and more. These parts can exist on their own, which means we do not need them all in memory all the time, only one in memory at a time. It also means I could squeeze more size out of each, which improves efficiency both in RAM and in CPU performance.
Further reducing the models worked out great, with my maximum memory footprint reaching around 50% of the available RAM. This gives incredible space for point clouds and other features, even for incredibly large tours. With the models now so small, I did attempt to run them on the ANU. While certain parts could run, the memory required to run them quickly ballooned far beyond comfortable levels and would likely cause challenges for later captures.
Through these efforts, I gained meaningful experience in porting machine-learning models to run on constrained hardware. The big result was receiving an inference for two photos in under 30 seconds.
Summary
It is poetic to come full circle. As I return to activities engaged with in Week 1, I find myself more aware of the requirements as a whole and the processes that define them. I also find myself with a growing appreciation for the benefits of the tools developed. A 3-floor space that once took days of manual effort and crashed programs can now be adequately generated automatically in under 20 minutes. This is all thanks to the efforts made each week. Each small piece is a part of a bigger whole. This week began finally connecting both ends of that whole, and here we can begin to see the project’s full path.