Accomplishments
- Live Projection Inpainting
- Head and License Plate Blue
- Tour Designer Improvements
- 2D Viewer Frontend
Bonus
- Reconstruction Service Updates
For many people, seeing (sensing) is believing. Coding and calculating can often be more challenging than visually adjusting something to your desires. Quickly updating visual responses can also help us brainstorm and identify what our desires are. If we want to artificially inpaint someone out of an image or blur their face, it’s important to visually see the outcome and be able to update it. For our tours, it’s important to see the changes we make to our user interface, as well as our 2D and 3D items, so it is helpful to have our visual tour editor available. These and many more integrations and improvements have been added this week to bring more visual information and ability to the creator more quickly and simply.
Live Projection Inpaint
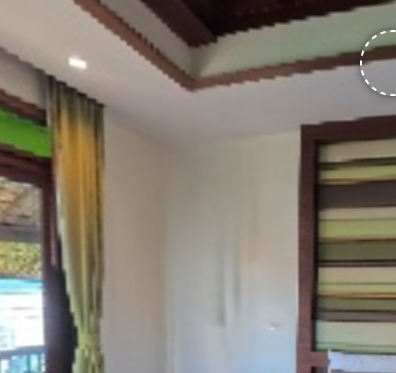
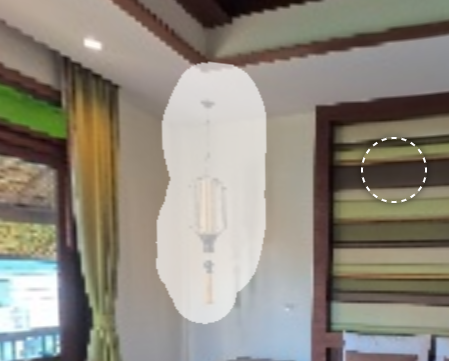
Live projection refers to what you may think of when viewing a 360 photo. This involves having it projected onto a sphere around you. This allows you to see the photo as if you were in that position, and you may want to edit the photo that way too. Drawing onto this sphere comes with challenges, as the photo itself comes from a 2D rectangle. This means that the pixels of that rectangle naturally stretch and warp over the sphere. Various calculations must be performed to effectively “reproject” this image and the manual drawings painted onto it so that it can be re-represented as a 2D image.
Having solved this, a new feature is now available where small portions of the image can be edited manually using image generation tools to remove and replace them. This also includes a new step where the automated nadir inpainting from Week 29 can be removed and replaced with a manually inpainted result.
Heading and License Plate Blur
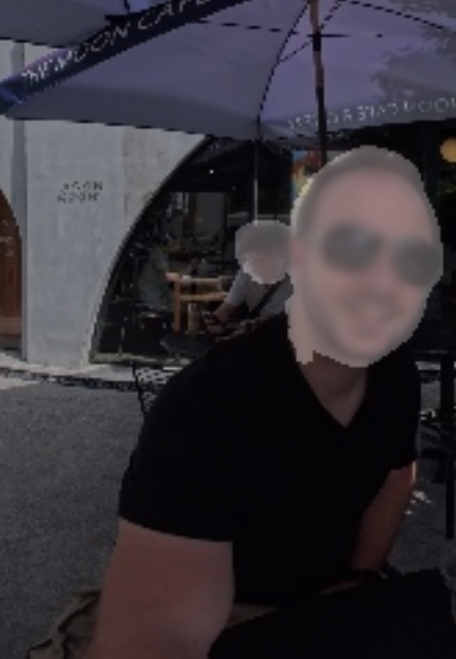
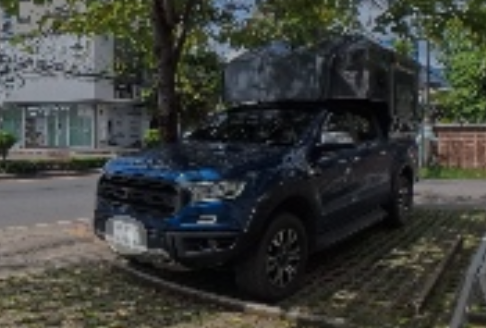
Privacy is important, and many people may not want to share faces in crowds, license plates, or other information in their photos and galleries. I have added a step that reviews each photo and places an optional blur over every head and license plate it identifies. This can miss faces and plates far in the distance, so I reused much of the live projection work completed during the inpainting step to improve this. The license plate blurs can now be manually updated. An undo mechanism was also introduced during this implementation, which supports undoing a sequence of actions during either license plate blurring or inpainting.
Tour Editor Improvements
Up until now, the system could take in photos or mobile-captured data and generate information for the tour and 3D model; however, it did not yet build the tour. Building the tour required exporting data from the system, importing it into Blender with custom scripts, making modifications, and then exporting it again as files to overwrite autogenerated files. You also had to manually generate the tour data with another application and then host and edit it with a third. This meant four distinct applications were required to take the information generated in the frontend and bring it to a deliverable tour. This week, we reduced that to one, with an optional second.
First, the tool that takes 360 photos and breaks them into tiles was set up and integrated with the process. A new “save and generate” button is available. This performs the time- and space-consuming process of applying the inpaint, nadir, and blur edits to copies of the high-resolution files, while also triggering each of those high-quality images, and the optional furniture-removed ones, to be broken into small tiles ready to stream online. This step also removes the dependency on custom Blender scripts. Now, the data can be exported directly to the files with the custom information needed to hook up each photo to its position, assign the correct 3D matrix, and set up any available gallery groups and hotspots.
This sets up the basis of the eventual virtual experience, which may still need tailoring. I began integrating the customization tool developed in Week 27 with the main system. Now, the tour appears as an available tab, displays this tool in the web browser, and loads the information generated for the virtual experience with no extra work from the user.
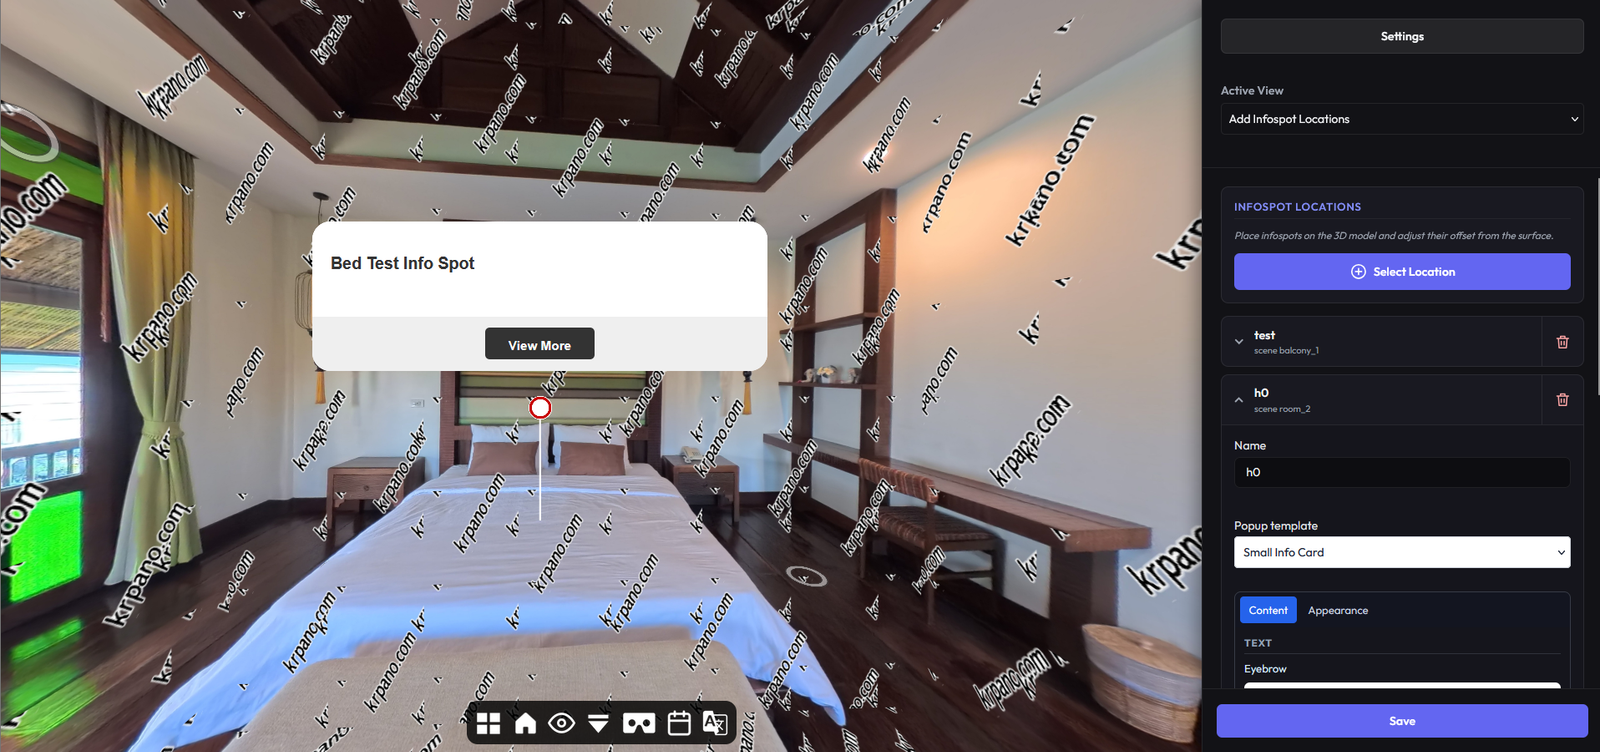
Previously, the tour designer tool only supported minor changes, such as updating the camera, diorama position, thumbnails, and gallery menus. I decided to expand this and implement a plugin templating process whereby any new plugin can be added and edited based on standard settings. This allows for tabs, groups, and subgroups, as well as custom settings. Now, each of my existing plugins can have a JSON file generated with its necessary custom settings, and based on the tags, they will appear as editable settings. Numbers will be sliders, colors will use color pickers, and text will remain text. I went through and updated each of my existing plugins to work this way, so plugins and their content can now be updated through the UI with immediate visual responsiveness.
I took this plugin update a step further by creating a simple alternative to the existing workflow of using a third-party plugin for defining 3D coordinates for an info spot. We now use a first-party tool that can be edited and maintained, removes the need to manually adjust tags, and eliminates unneeded extraneous information.
The info spots were further updated to support templating for the iframes they display. This way, the iframe data can also be edited visually. Previously, HTML files needed to be edited and tested. Now, this only needs to be done for the initial template, after which features within it can be adjusted through the user interface.
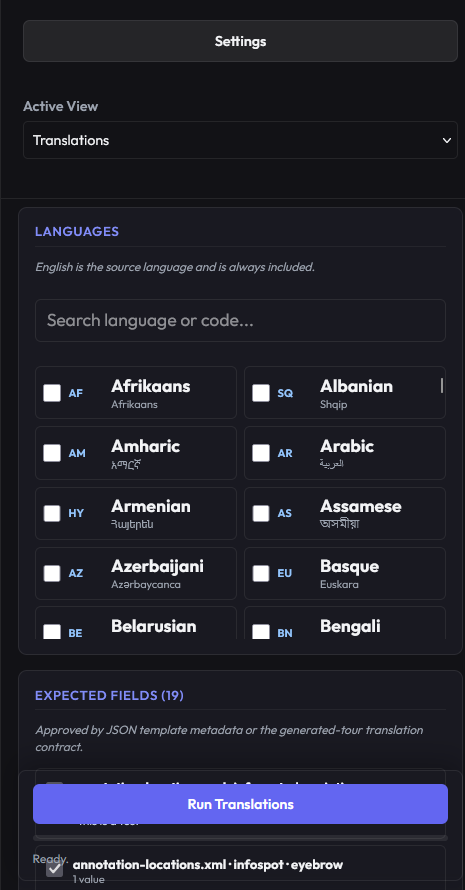
With the benefit of having all plugins included in the tour and now templated, I used this templated information to directly integrate the translation tool into the program. Now, while updating the frontend, translation can be run from within the designer interface. A separate tool is no longer needed. During templating, I also added an option to define whether a field is worth translating. This can be detected automatically and used when translating all plugins.
All of these changes now save directly to the necessary tour structure. It is no longer necessary to copy, paste, and overwrite existing files for a virtual experience. Including these features in the overall system makes it more robust and makes the start-to-finish experience more stable, maintainable, and less scattered. We went from needing five services—the main system, Blender, the tour generator, the tour designer, and the language translator tool—to needing only one, the main system, with Blender available as an option for tweaking the 3D model.
2D Viewer Frontend
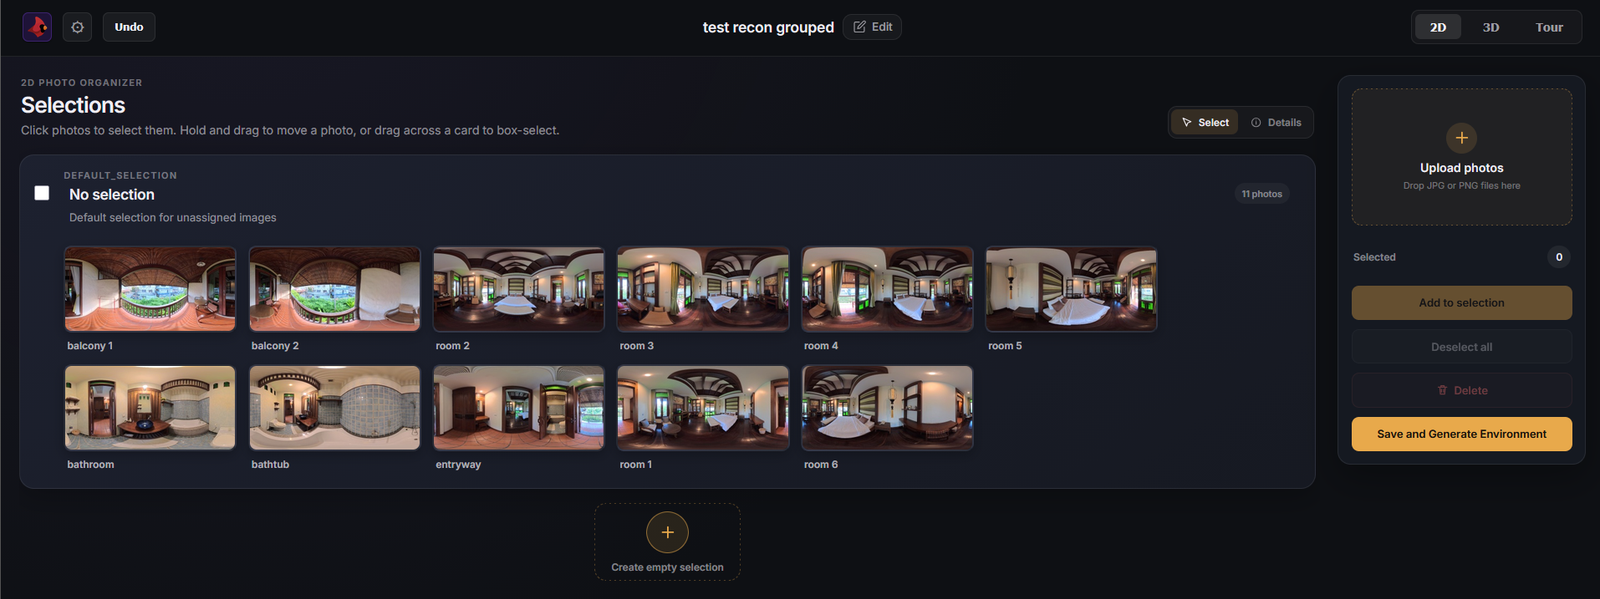
Another visual update was the addition of another 2D tab. There are now three ways to visualize the tour: 2D, 3D, and the designer. The 2D view is simple and will work well for gallery-view tours. Items are uploaded and displayed visually here. They can be opened for inpaint and blur editing, as well as dragged into grouped gallery sections.
Bonus: Reconstruction Service Updates
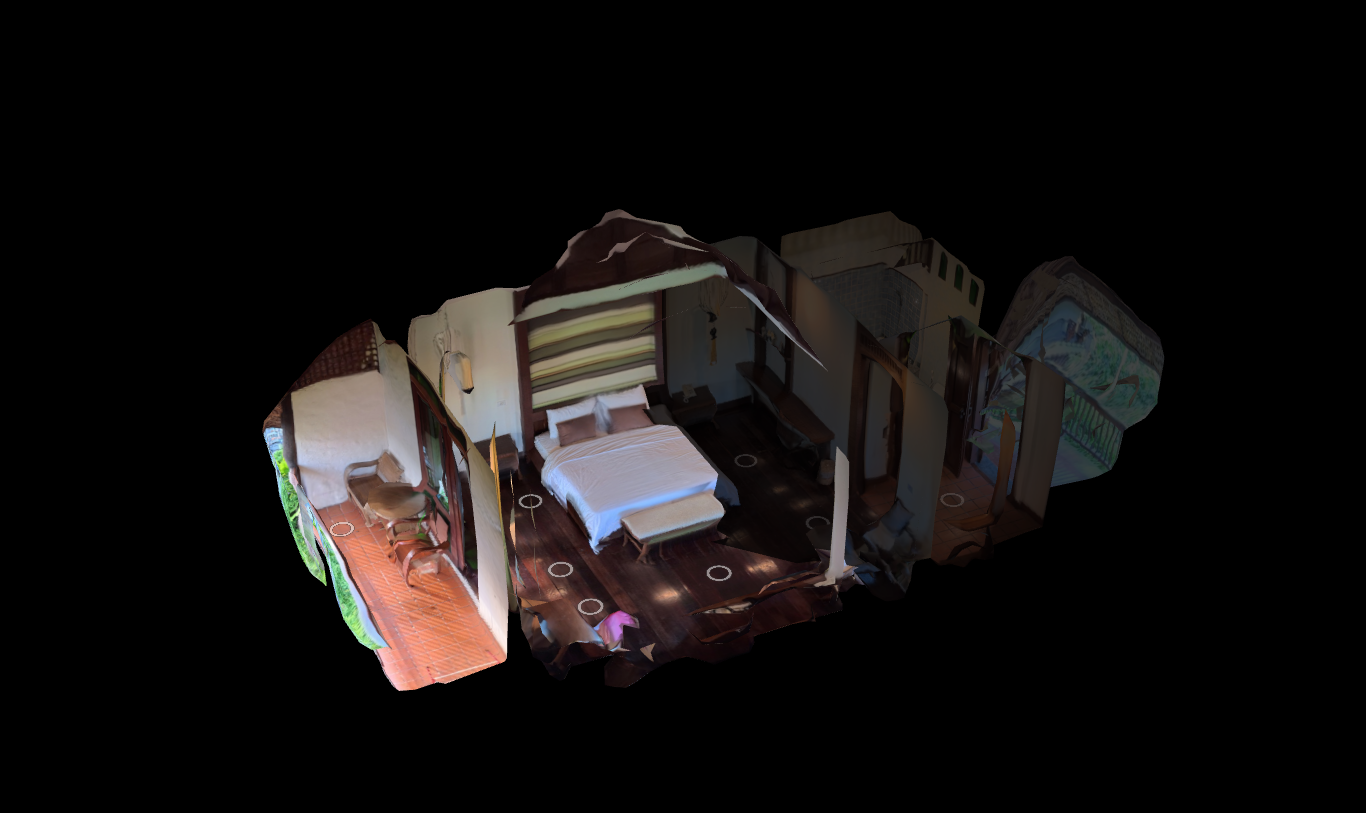
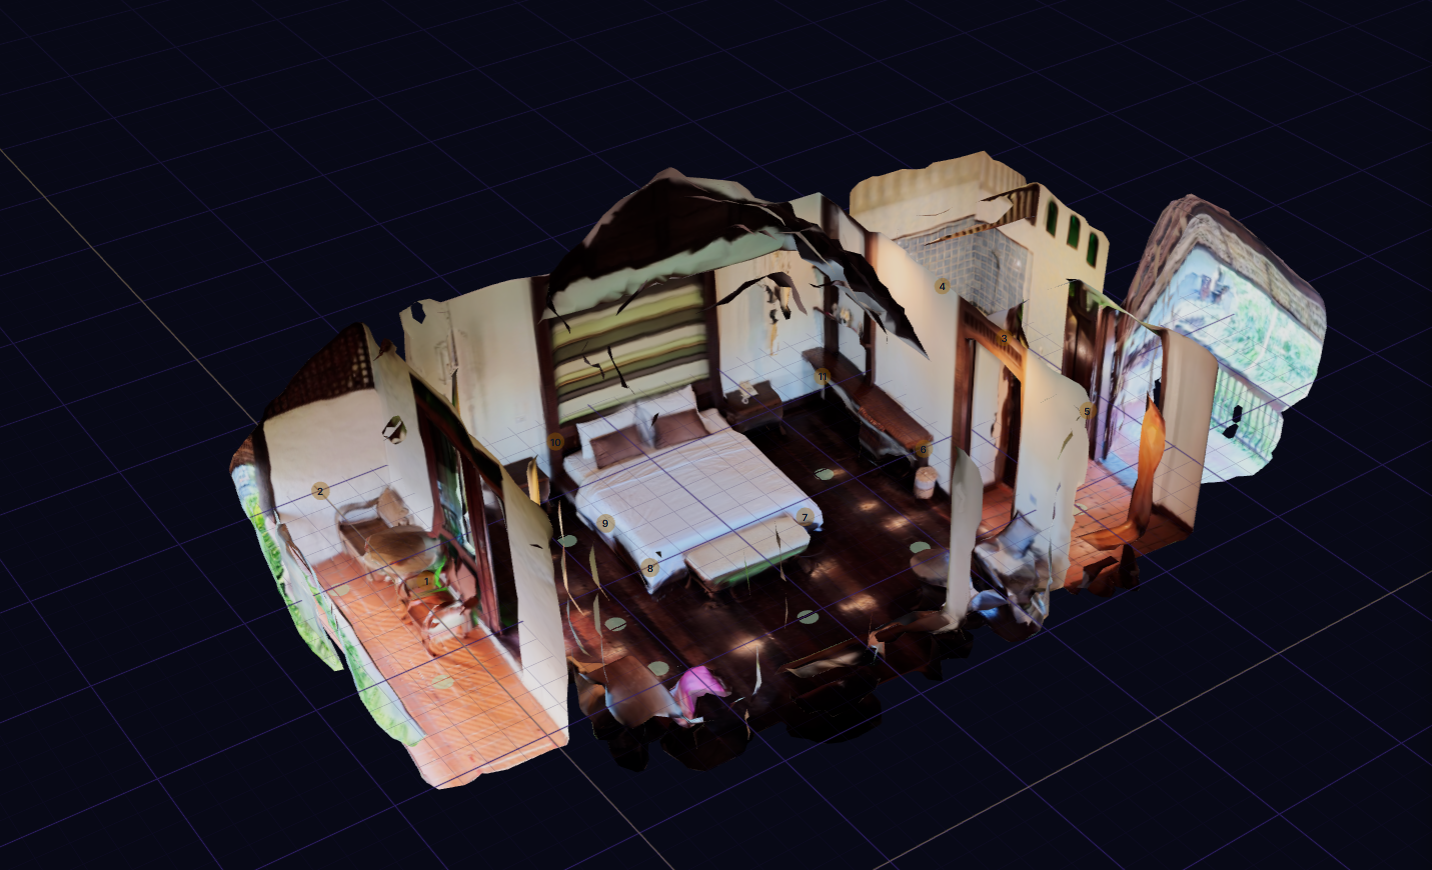
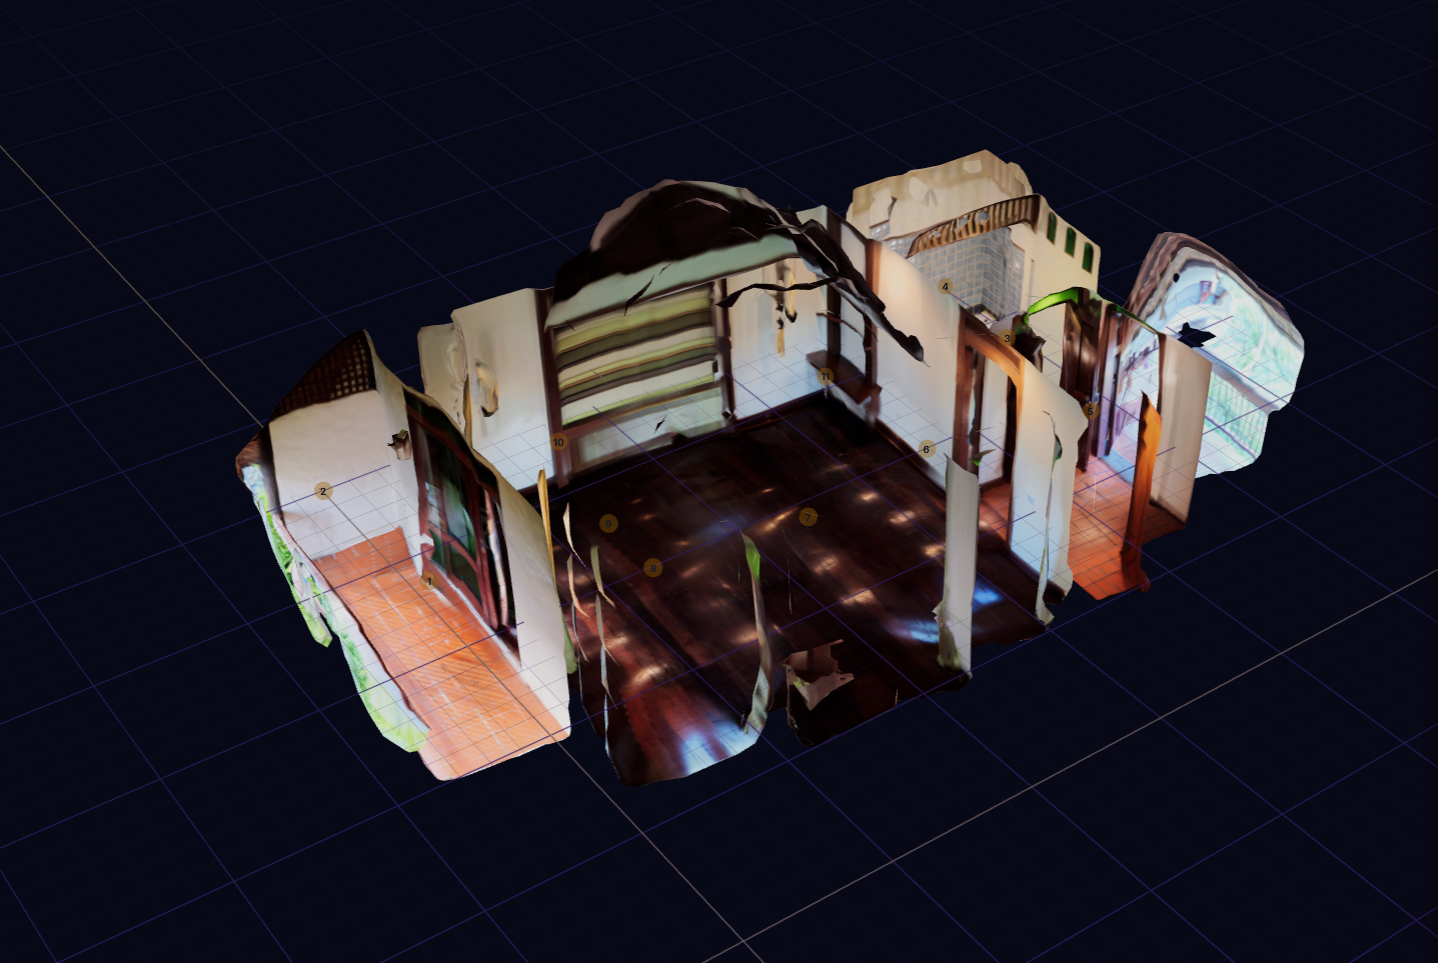
With the new furniture-removed images, I wanted to update the reconstruction service to output the furniture-removed mesh. This update was simple and required adding an additional step to generate the point clouds and mesh alongside the original.
While working within the reconstruction module, I also decided to simplify the workflow for creating multi-floor structures. Previously, you needed to mesh multiple floors and then connect them together. This could lead to choppy cuts at the seams or complete holes, requiring more manual cleanup. I removed this need by allowing the entire scene to be meshed. Through clever math, the computer can break rooms at the seams based on the camera groups determined in the editor. This reduces seams and the possibility of holes or additional required cleanup caused by aligning separate meshes.
Summary:
This week was thorough and rewarding. Many new visual features were added and offer richness to the experience. These features save time both when creating a tour and maintaining the system. Templated files make it easier to add new features down the road and integrate them with the designer. Automated blurring saves the creator time when sharing photos containing sensitive images, while live projection editing and inpainting allow creators to add manual updates where they see fit and remove the need for these image preprocessing steps. Integrating the templated designer helps remove post-processing steps, reduces dependencies, and improves cohesion throughout the process.