
Accomplishments
- Street View Workflow Research
- Gallery View Update
- Refresh and Deeplinking Fix
- Book Now Button
- New Hotspot Icon and interaction
Bonus:
- Click and Go 3D Hotspot off Fix
- Right Click to Drag Diorama
Moving through a series of photos is a major feature that separates virtual tours from traditional photos. In virtual tours, you are spatially aware; you rotate your camera, click hotspots, or click a room directly from a diorama view. Compare this to traditional photo reels or galleries where images are viewed from only one angle, and navigation is limited to moving left or right. With this week’s improvements, navigating a virtual tour has grown more appealing, and sharing your perspective has become easier than before through deep linking.
Google Street View Workflow Research
A popular tool with global understanding for virtual tours is Google Street View. While “Street” may be in the name, business interiors can also be uploaded to the platform. To consider offering this service, I first had to understand what goes into providing it. This research enlightened me to the complexities and challenges that come with generating and uploading 360 tours to Google’s Street View platform.
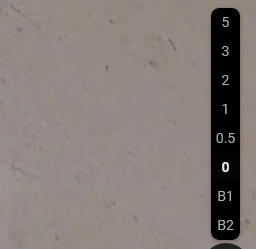
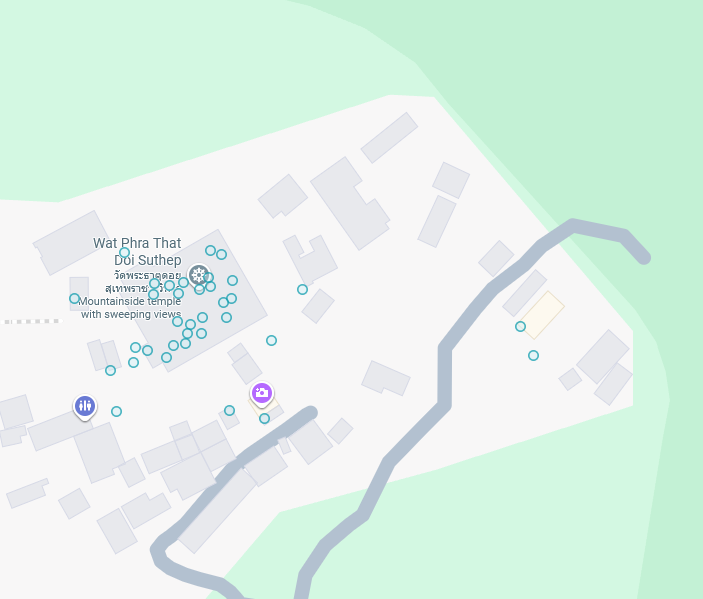
First, let’s start with the outcomes. What can the tours look like? Google Street View offers three ways to display 360 panoramas. One is level-based, like the British Museum. Another is the familiar “Blue Line” tour that appears on streets and hiking trails, such as Mt. Wakakusa in Nara. Lastly, there are the “Blue Dots” which show a single image, like those you might find around Doi Suthep in Chiang Mai. Uploading individual images for the blue dot outcome is fairly simple, though the results offer only one perspective per dot. Blue Lines and connected tours are more complex to upload.
Google offers two ways to upload tours for free. They have the Google Street View Studio, which can only make Blue Line Tours (no connected/elevator feature), and requires the upload to be in a video format. Google also offers many free APIs. These require precise steps to be manually programmed in order to upload content to the platform. Third parties have stepped in to assist and simplify calling the APIs, though this comes at a price. Today, platforms exist which charge a small fee per upload, or a higher fee for a one-time license. Beyond calling the APIs, these tools offer a visual user interface and features that help prepare the data to ensure the output will be as expected. When uploading to Google, it makes many of the decisions about your tour. For Blue lines, Google decides which photos to strip from the videos to use. For connected tours, Google decides where to place the hotspots based on GPS and compass data.
The photos or video uploaded to Google must meet specific criteria in order to get a desired outcome. For instance, all photos must include GPS data. Each photo must be 3-5 meters apart (10-15 ft). Otherwise, the tour may end up as a variety of blue dots with no navigation hotspots at all. All photos must also include heading, or compass, data which identifies where north is. These requirements alone complicate much of the workflow. Many 360 cameras do not include GPS or compass abilities. Cell phones assist with the GPS data, though if the cell phone is not directly under the camera, the GPS data will be feet away, or with the photographer hidden in the next room. This is where manual effort must be made to correct the GPS data, and where many of the third-party tools find their usefulness. Setting the heading must also be done manually. While tools like the Insta360 GPS remote can offer compass heading, it only offers this feature in an overlay during video shoots, not photo mode. So, north directions must be manually added after the fact. For smaller buildings, this may not be too time-consuming, especially if the phone stays with the camera. If the camera is always facing the same direction, north can likely be set with one update via batch process. However, this process does not appear to scale for larger shoots. The phone’s GPS data is only so accurate, so quality assurance must always be done to ensure that rooms and hotspots appear in the correct location. Additionally, common compasses may encounter interference, or attempts to keep a camera in the same direction may diverge over dozens or hundreds of shots. This would be especially hard to manage if you had multiple photographers shooting simultaneously.
Taking photos in open spaces comes with its own challenge of hiding the photographer. Homes and apartments are simple, as the camera person can step away into another room. At a park or in a warehouse, this may prove cumbersome and time-consuming. One solution is to take multiple photos with the person in different positions and perform a crop. This may be acceptable in some instances where the images can be far apart. It is less acceptable when you need to take every photo 10-15 ft apart. This greatly expands time on location and time editing. If an automated way to remove the photographer can be found in a single photo, this will no longer be a problem.
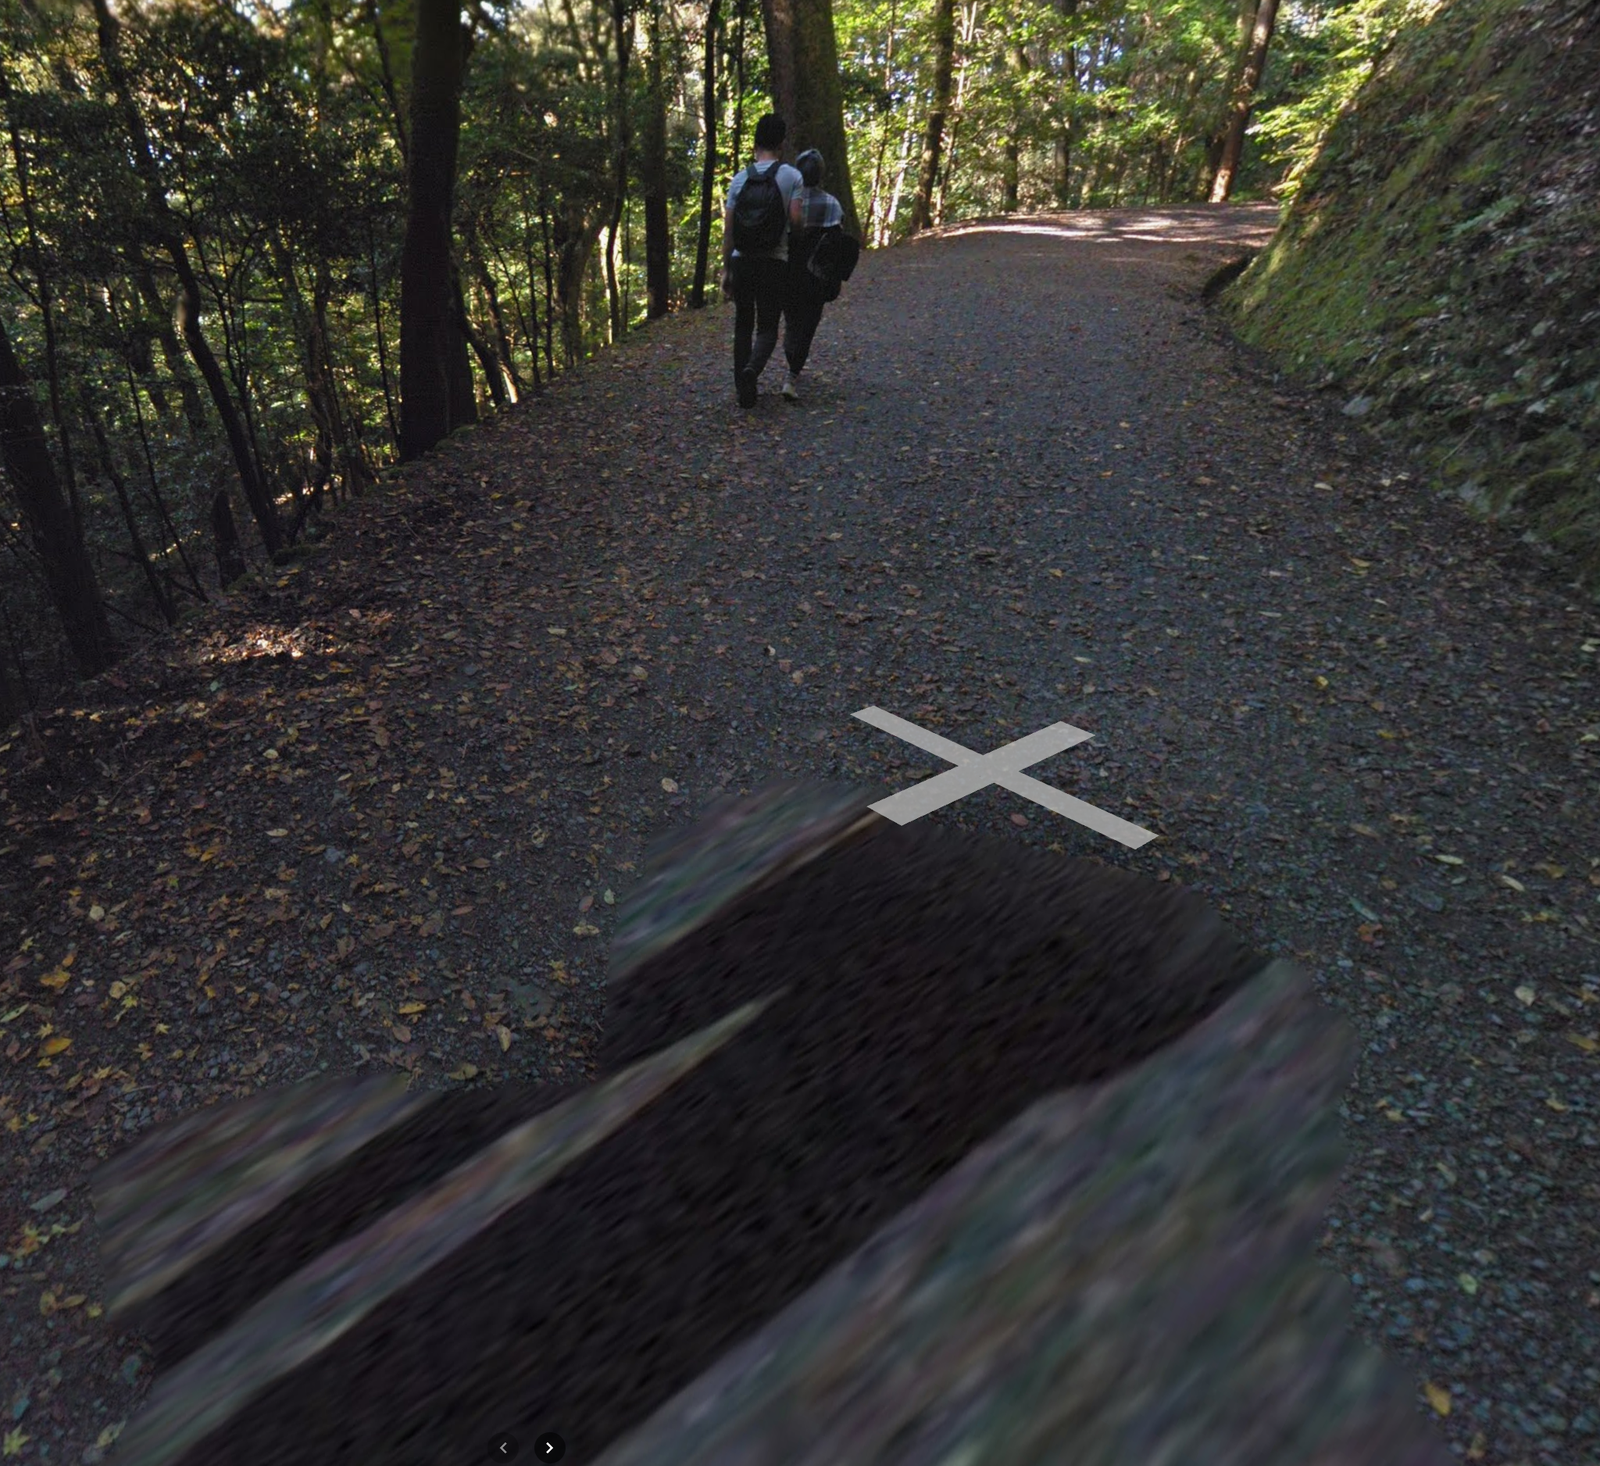
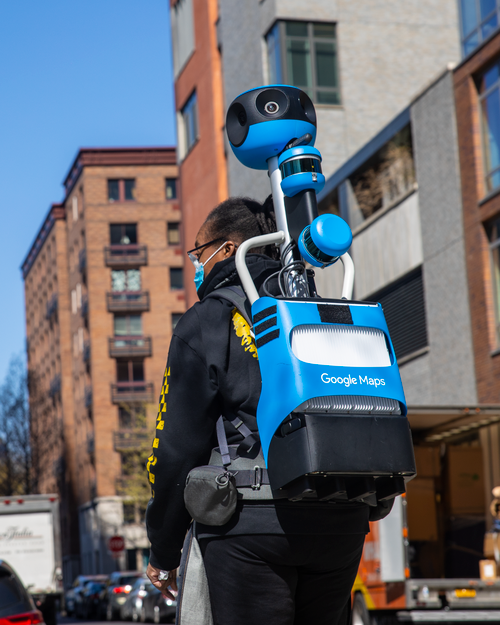
I questioned how Google Street View has so successfully hidden the photographer from their hiking trail Blue Line tours. Their equipment appears to solve the time taken and hiding the photographer at the sake of quality. The Google team creating these tours appears to wear a backpack. Most likely, this captures images every few steps. This means someone with the backpack could take a leisurely hike with images snapping automatically along the way. Compare this to my proposed workflow of walking 10ft, taking two photos, then moving the camera again. Since the human is carrying the camera and is close to the lenses, they must be hidden automatically. The process appears to stretch and repeat the parts of the image that surround the person. Sometimes this is adequate; other times it can be quite uncanny and immersion-breaking. This is visible in many tours where a strange, sharp-edged shadow is blurred and stretched across the bottom and towards the middle of the screen in order to hide the photographer below.
Google Street View is simple to use yet complex to deliver for. The requirements may be simple, and the procurement achievable; though scaling this process is not feasible without considerable time, cuts in quality, or investment in new tools to capture the data required for this workflow. Part of what makes 360 photography so unique is its ability to immerse the user in another location. Strange nadirs (bottoms of the photo), following photographers in the shots, and drastic differences in sun or weather due to a change in time all contribute to reminding the user that they’re viewing photos, breaking them from their immersive tour.
Today, Google Street View Tours may be accessible to my standard of quality for small to medium-sized locations. When solutions are available which address the time taken for each photo, the GPS accuracy, and the compass heading, then scaling to larger and more open-space tours should become accessible.
Gallery View Transition Update
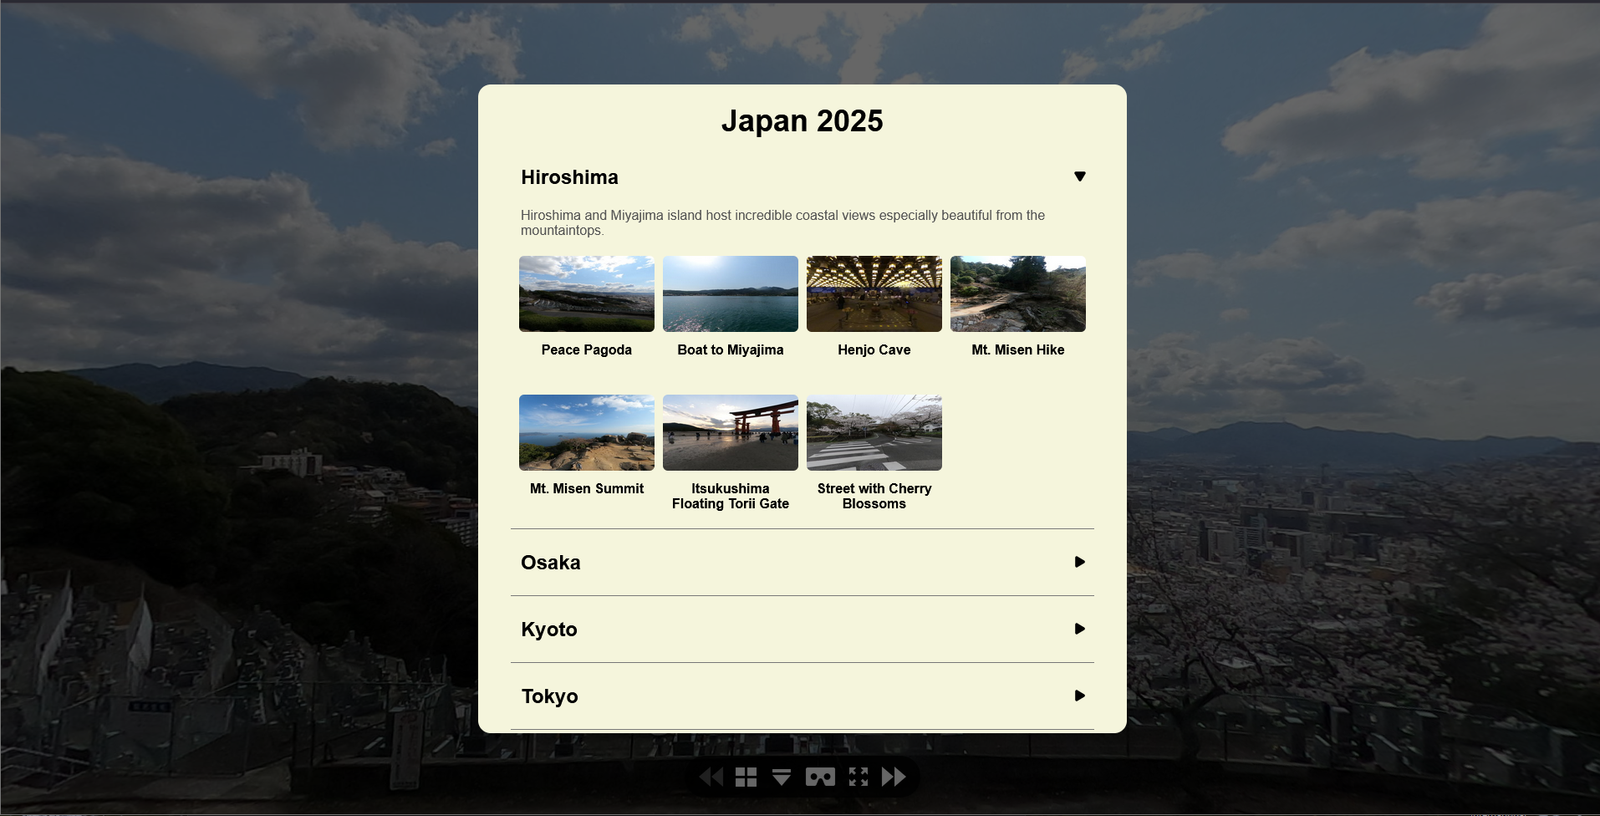
The custom gallery view I made in Week 2 worked great for 2D virtual galleries. The process required adjustment to work in 3D tours, where the camera physically moves between each image and projects the image onto a 3D model. This was done by adding a new option to provide a custom transition when clicking on an item in the gallery. I then created a custom transition which fades the current image to black, moves the camera during the second nothing is on screen, then fades in the new image. This smoothly iterates between scenes while properly adjusting the camera’s position.
Refresh and Deep Linking Fix
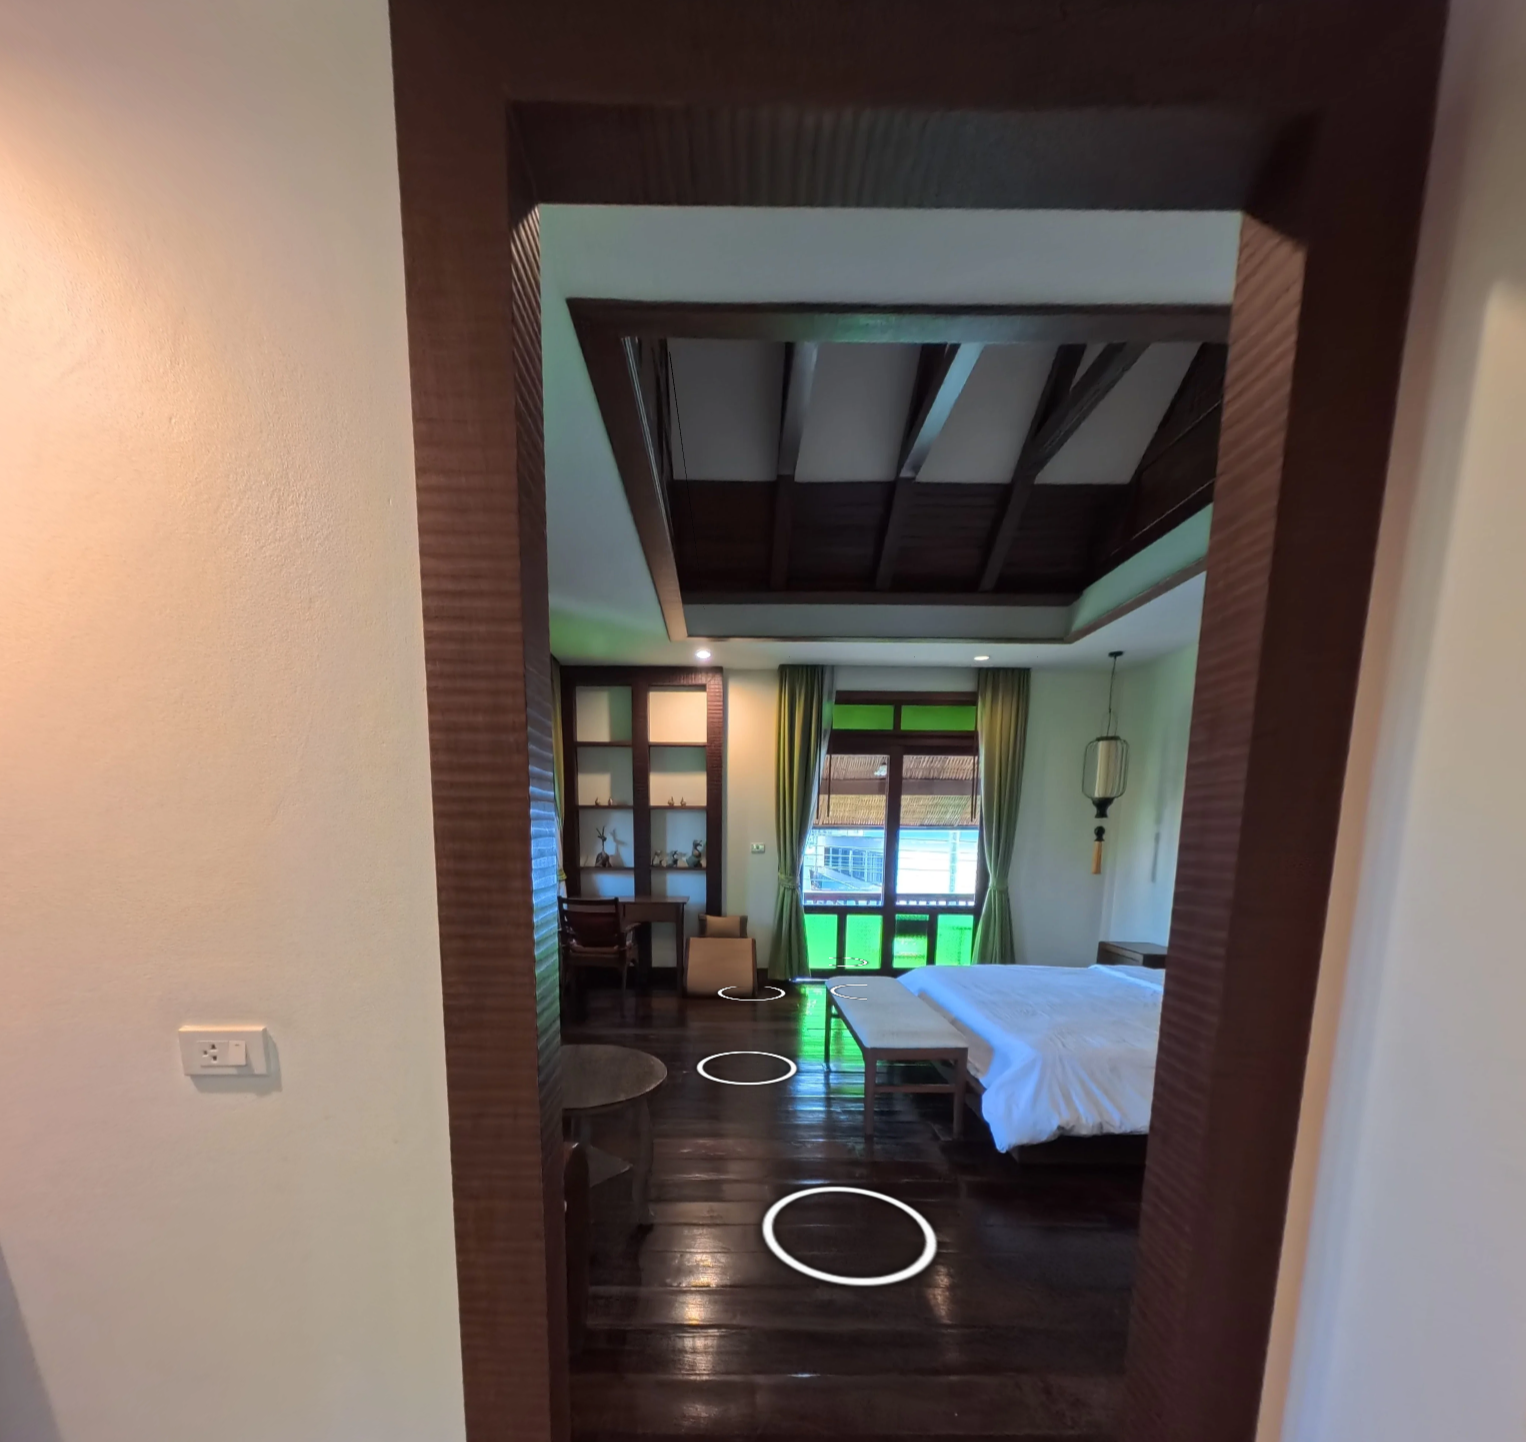
I recently noticed a bug when traversing a 3D tour. When you move to a position then refresh the page, the camera returns to the first location/hotspot, but the image projected on the 3D model is the one from before the refresh. The bedroom may look similar, but outside of the doorframe, you can see where the issues start.
The desired outcome would be to refresh from exactly where you were before so you don’t lose your place. To do this, we must match the camera’s position, rotation, and the desired image. Luckily, all of this is stored in the tour and provided in the URL. Take the link below for example:
Example Tour Link.
Towards the end, we have startscene=6 and startlookat equal to some values. The scene matches data stored in the tour’s files and gives us the camera’s location and the photo to be used. Startlookat gives us the rotation and zoom of the camera. We can check for this when the tour starts, and if these fields are provided, take the user directly to them.
An added benefit to this fix is something called deep linking. If you view a tour of a museum with deep linking and see a specific photo you want to share with a friend, you just need to find the photo and copy the web address. Your friend will land in the same spot, facing the same photo.
Refresh and Deep Linking Fix
How can we better support the user taking action and transacting with the tour’s site? For resort bookings, campus tours, and more, we can offer a new calendar button directly in the toolbar. Then, from any section of a tour, a viewer can decide that they are ready and take the next step.
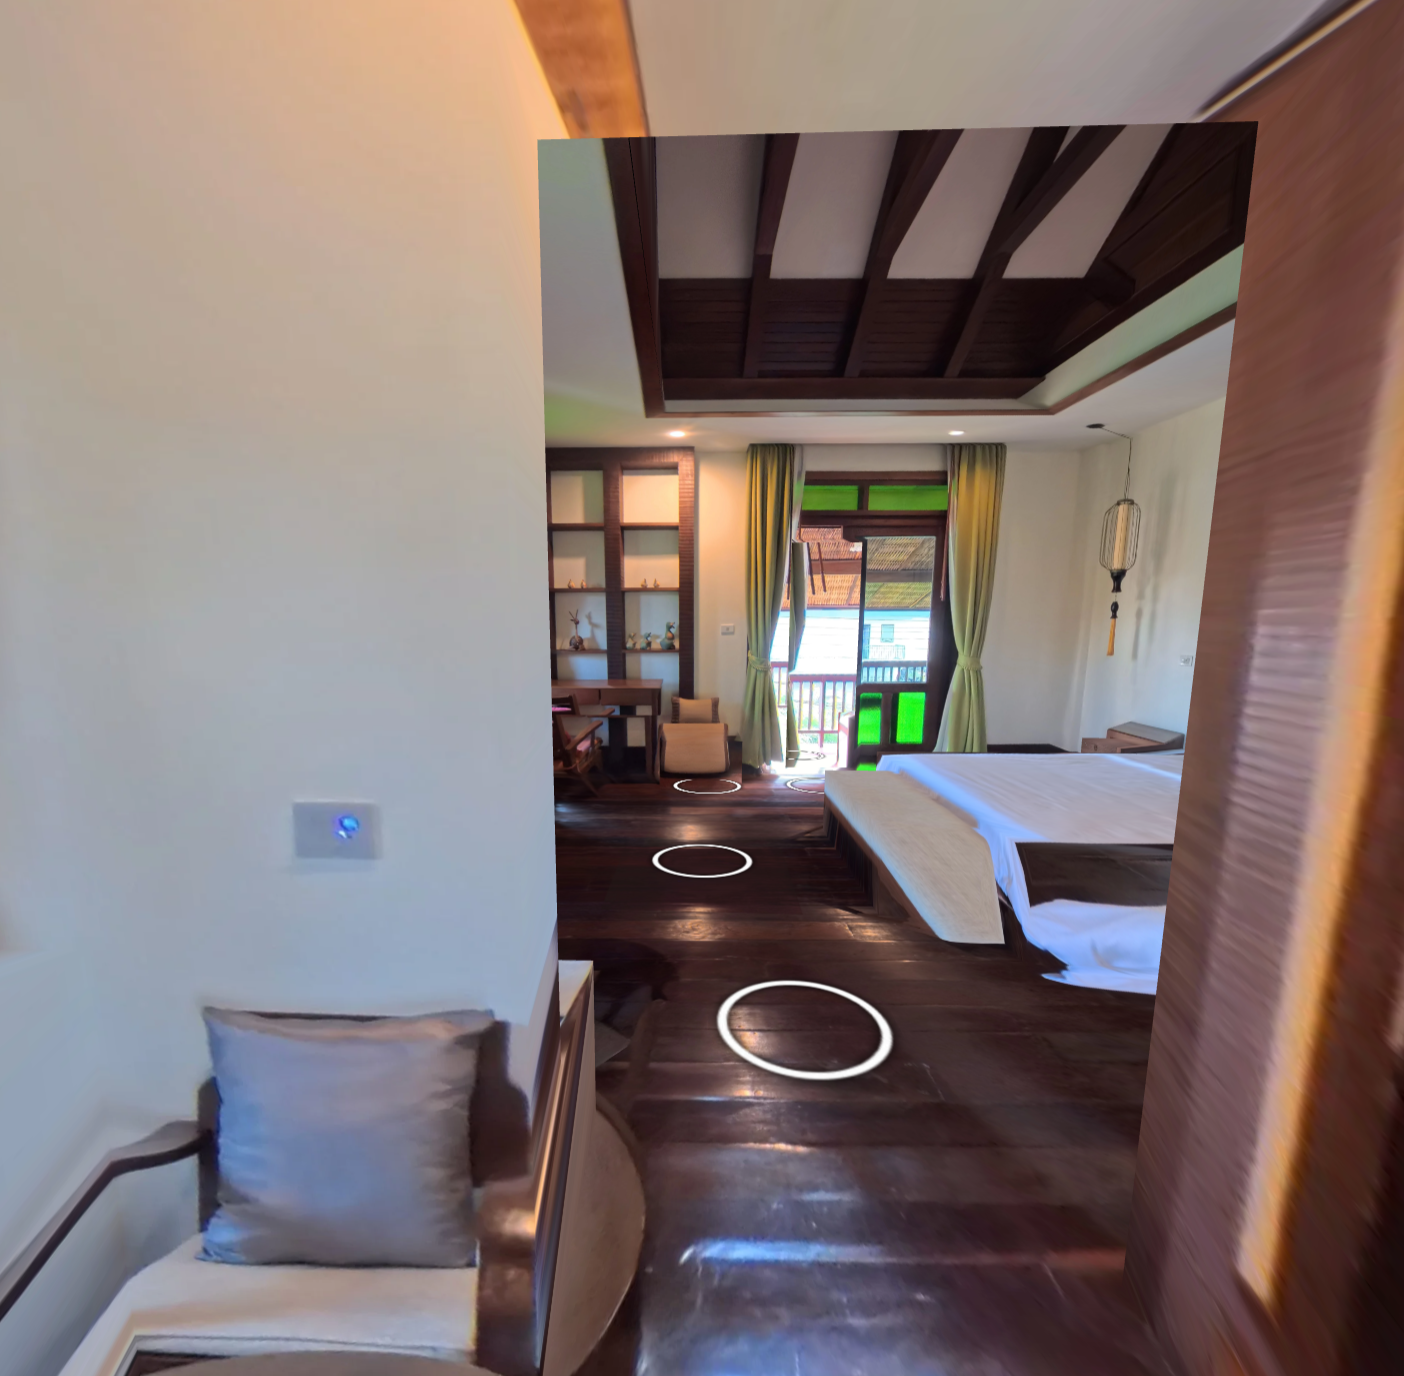
New Hotspot Icon
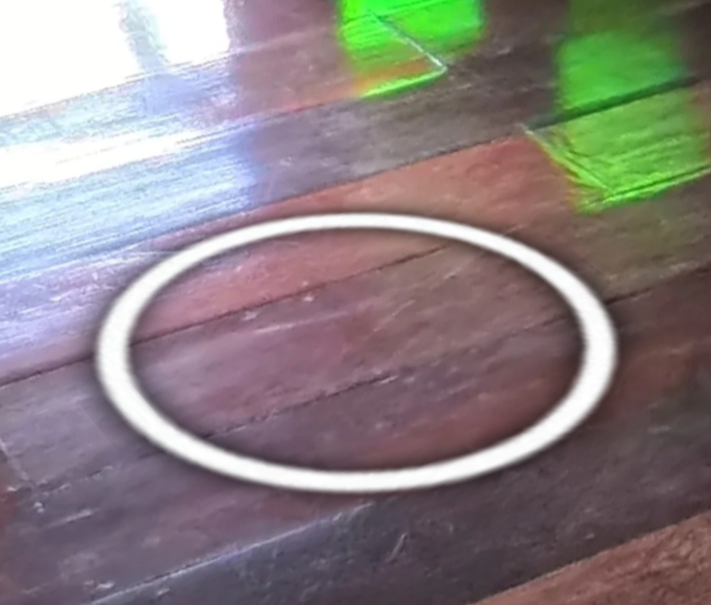
Hotspot icons should be easy to find and easy to ignore. They are a requirement for new users to understand and navigate 360 tours. They also remind us that we are in a digital environment and take away from the illusion. Up until now, I had defaulted to a thin white circle with a drop shadow. To better identify a hotspot, we could add contrast, and to better hide them, we could add transparency. I created a thicker circle with a dark outer and inner rim to improve contrast. Then, within the tours, I added a feature that made all hotspots transparent by default, animating to full opacity when hovered. This makes the hotspots easier to identify while also easier to forget when focusing on the scene.
Bonus: Click and Go 3D Hotspot Off Fix
A minor bug was resolved where, when using Click and Go 3D and toggling off hotspot visibility, the viewer couldn’t move to any hotspots. Now, when the visibility is off, the user should be able to move between any hotspot easily.
Bonus: Right Click to Drag Diorama
The diorama or dollhouse view can benefit 3D scenes by providing spatial awareness and the ability to select a specific room visually and go to it. What if you view a large scene, or if the room you want to view is far from the middle? A common solution to this is panning the camera. When viewing the diorama, you can right-click, and instead of rotate, translate or move the camera to the left, right, up, or down. For tall buildings, you can more easily find the desired floor, and for wide buildings, more easily center the desired room.
Summary
How to get around is a critical part of the viewer’s experience in interacting with 360 tours. This week came with improved familiarity for one of the most common tour platforms, as well as improvements to my custom tour’s output. With new hotspots, gallery view transitions, and Click and Go 3D improvements, people can move through tours more seamlessly and with fewer breaks to the illusion. Interesting parts within a tour can be more easily returned to and shared with deep linking, and navigating from the tour to the real-world location can be made easier with in-tour conversion options.