
Accomplishments:
- KRPano Multi-Floor Implementation
- Tested Retopology Workflow against Dense Multi-Floor Tour
Bonus:
- Created Customizable Image Gallery Plugin
Single-floor 3D visualizations are easy. You look down from the top and can see the entire floorplan. But buildings with exteriors or multiple floors introduce new challenges. This week, I began tackling questions and user experience (UX) challenges related to navigating and using a 3D visualization for a multi-floor building.
Large buildings especially benefit from 3D visualization. If you want to see the third floor, it can be as simple as moving your eyes to that level and finding the room you want. The alternatives are walking there room by room in a 2D tour or navigating menus to find the correct floor and room.
A successful multi-floor visualization requires both an efficient workflow for building the 3D model and an intuitive user experience for navigating and selecting parts of it.
This week, I adjusted my 360 workflow to conform to the needs of multi-level spaces. The current process runs into some hardware limitations, and further improvements will be required to fully support these tasks.
Began Implementing Multi-Floor Tour Features in KRPano
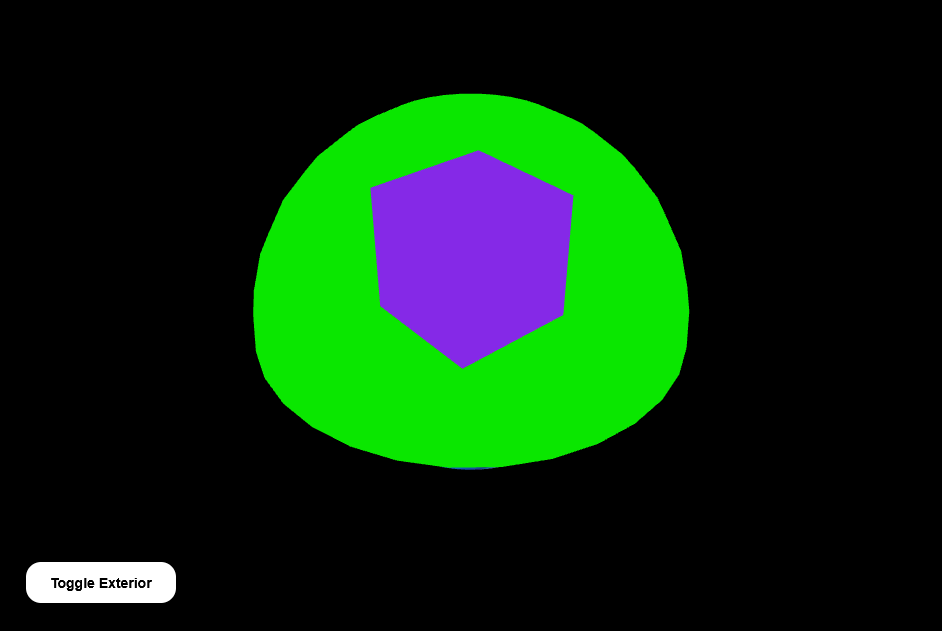
I wanted to ensure that the 360 tour tool I use could support the needs of multi-floor 3D visualizations. I created a simple two-floor example that included both floors, a building exterior, and a dome object representing the surrounding ground.
The dome is always visible so that when someone views a floor, they can understand its position relative to the outside using landmarks.
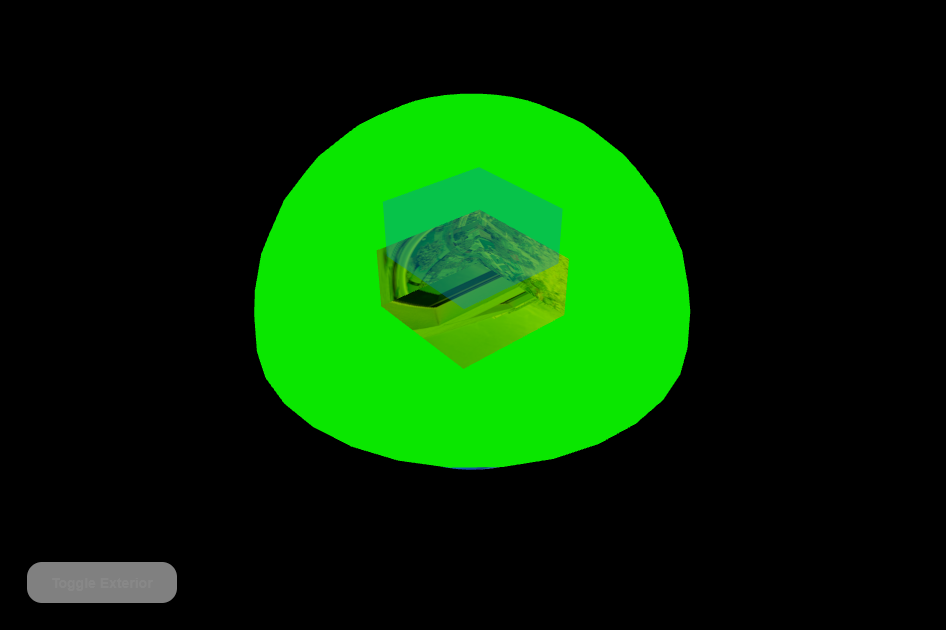
The exterior can be toggled on or off. This allows the viewer to see the building like a snow globe if they choose.
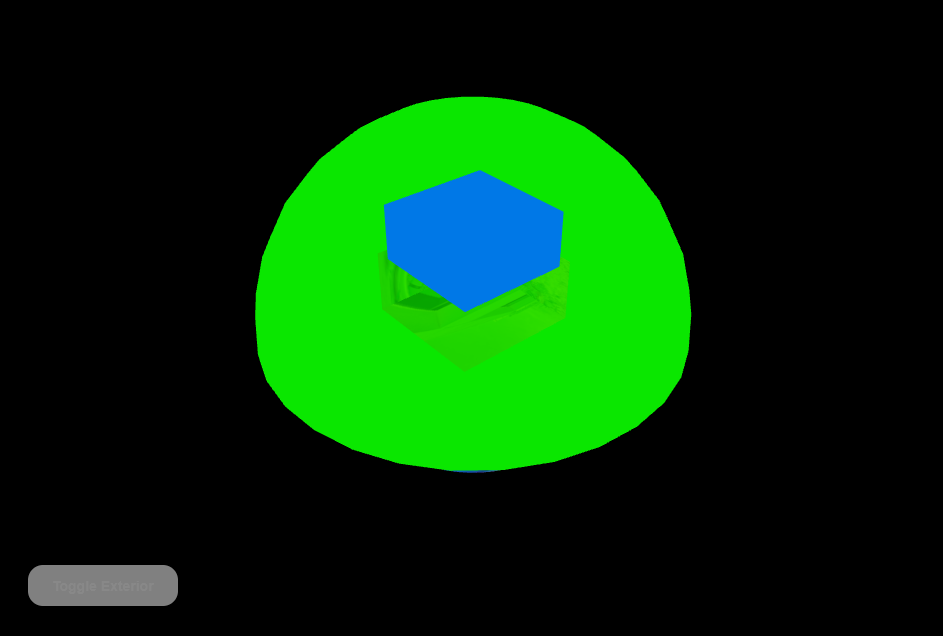
Interior floors are selectable, and when one floor is selected, all other floors become transparent. This prevents upper floors from blocking the view when looking inside or selecting a hotspot for navigation.
A key challenge was balancing the ability to select higher floors to change the floor of interest while also being able to ignore them when clicking on interior objects. The solution was to dynamically adjust the transparency and selectability of floors based on the viewer’s angle. Most navigation hotspots exist on horizontal surfaces and are more visible from higher angles, while floors themselves are clearer from lower, horizontal views.
This proof of concept was successful. The 360 tour can manage all of these needs, and I believe this approach has strong potential for an intuitive user experience.
Tested Workflow Against a Heavy Scan
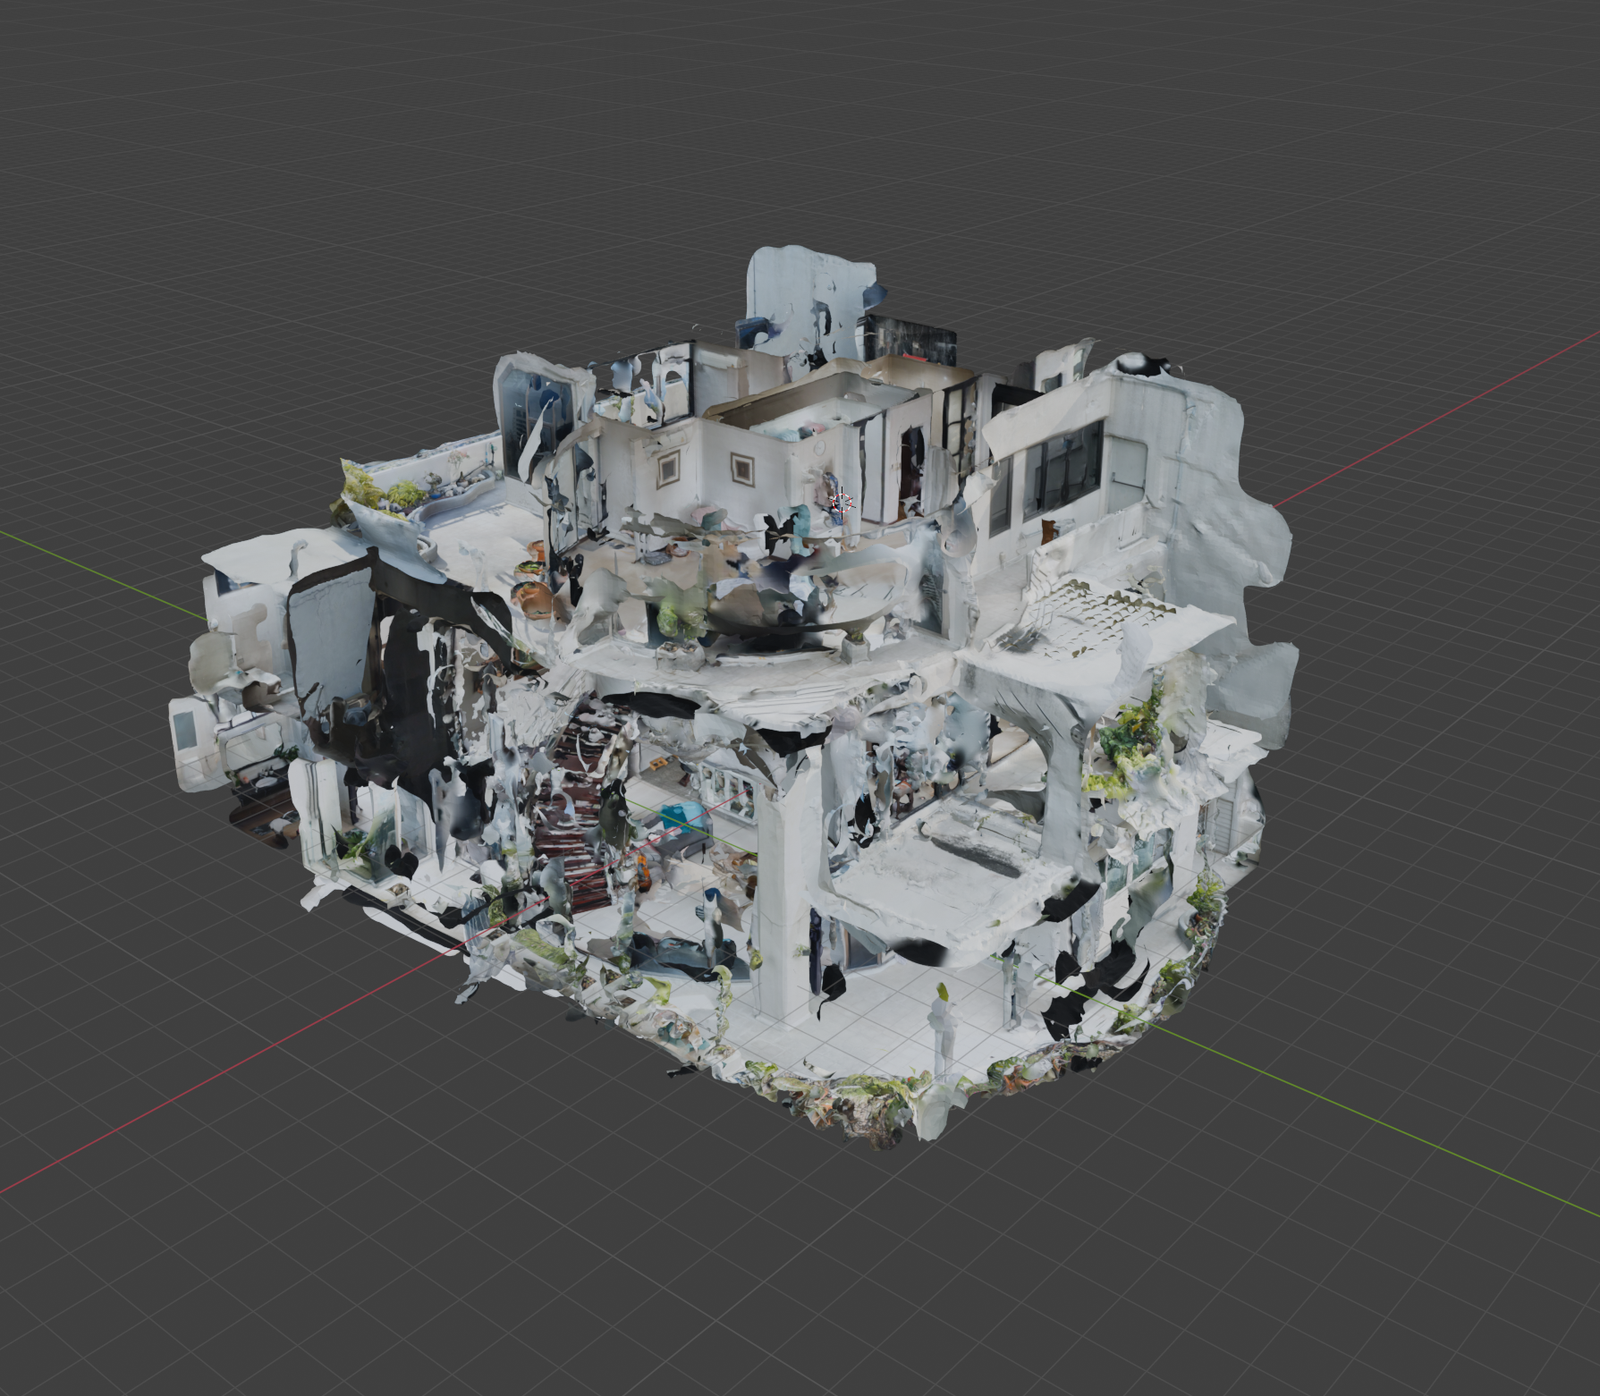
I tested my 3D visualization workflow using the data from the Supalai Place 360 tour. This tour is very dense, with over 100 photos. If you are familiar with the layout, navigating through locations is quick. If not, learning the space through clicking can become cumbersome.
A gallery view exists, showing a grid of images organized by floor and room, but even this becomes unwieldy with such a large number of photos and limited categorization.
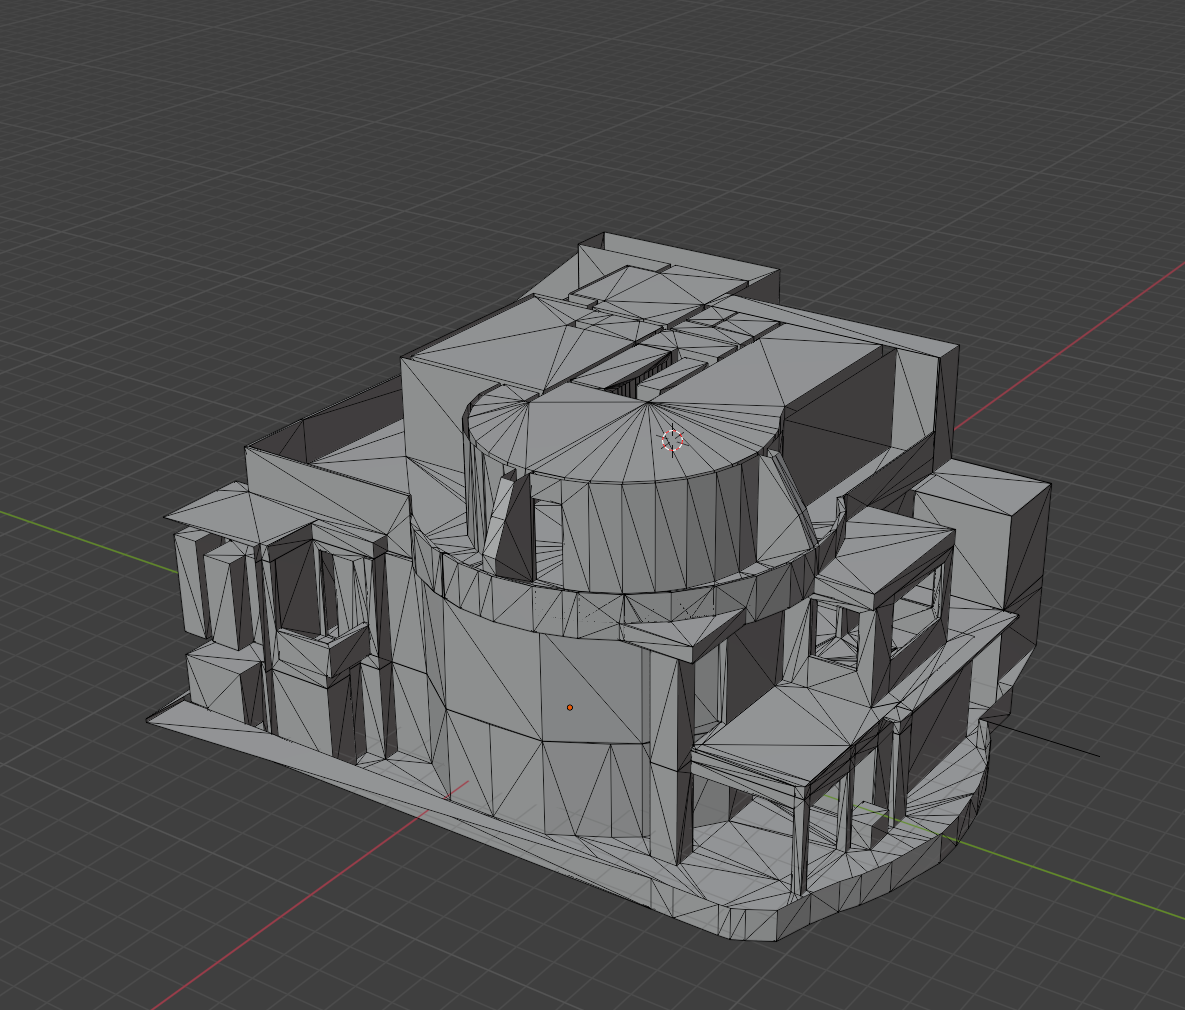
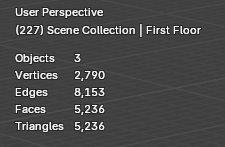
Creating the 3D model took considerable time, but it provided an opportunity to practice my 3D modeling skills. Using Blender, I merged connected vertices automatically and created clean topology, avoiding N-gons through loop cuts and other tools.
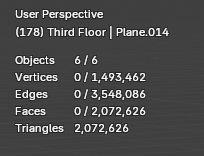
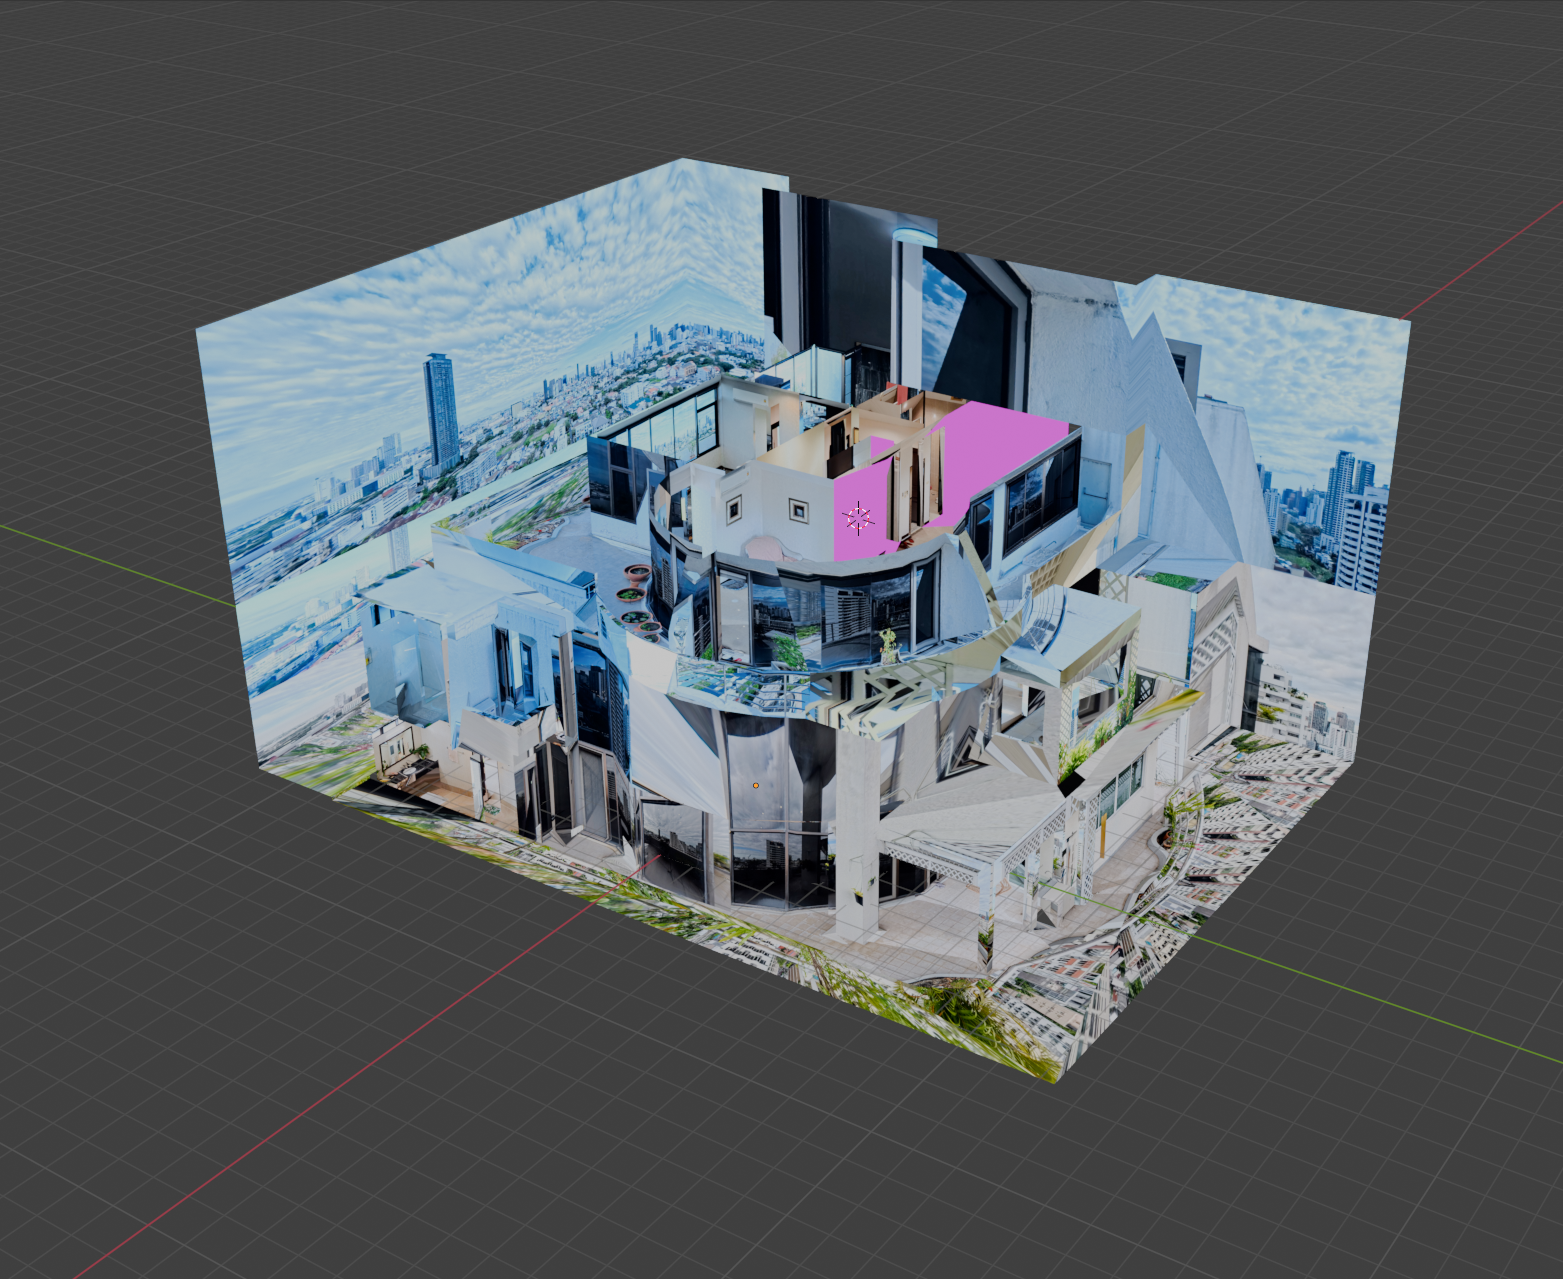
Once the models for each floor were complete and textured using the 360 photos, I performed a process called baking. Baking extracts the relevant portions of each 360 image and merges them into a single texture map. While normally straightforward, baking more than 100 high-resolution 360 images proved extremely demanding on hardware.
Although the JPG image folder was only 4GB, the system used 24GB of GPU memory and 64GB of system memory. This is because JPG files are compressed and expand significantly when loaded into memory. This exhausted system resources and caused Blender and Windows to crash.
One positive takeaway was realizing the benefit of using JPG for final output instead of PNG. Transparency has not been critical, and switching to JPG can reduce bandwidth and hosting storage usage by roughly 85%.
This process highlighted several lessons. Manual retopology by cutting and extruding floors is time-consuming and scales poorly with project density. Other tools, such as Polycam’s 3D floorplan mode, exist but struggle with elevation changes and curved spaces. I plan to research alternative approaches, such as blocking out layouts with simple primitives.
For panorama importing and texturing, breaking the workflow into room-by-room steps may help. Applying textures incrementally and combining meshes per floor afterward should reduce memory usage and simplify the baking process.
I also learned that a usable exterior mesh may not be possible without sufficient exterior coverage. Balcony photos were often taken at angles too steep to properly capture the building façade, resulting in distorted textures. Drone imagery may be required to fully support this feature.
Bonus: Created Responsive Grid
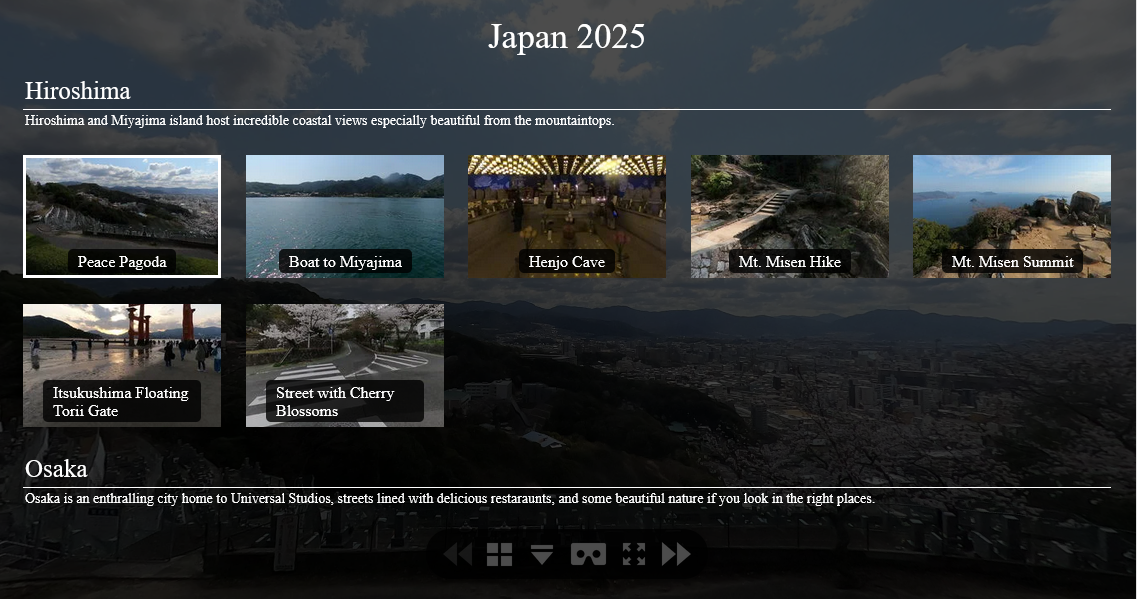
When a 360 tour is very dense and lacks a 3D visualization, a gallery view can be beneficial. This also applies to standalone 360 galleries, such as my projects from Japan and Thailand.
While adding a gallery view to the Supalai Place tour, I noticed that the existing tool presents all content at once, which may feel overwhelming to some users.
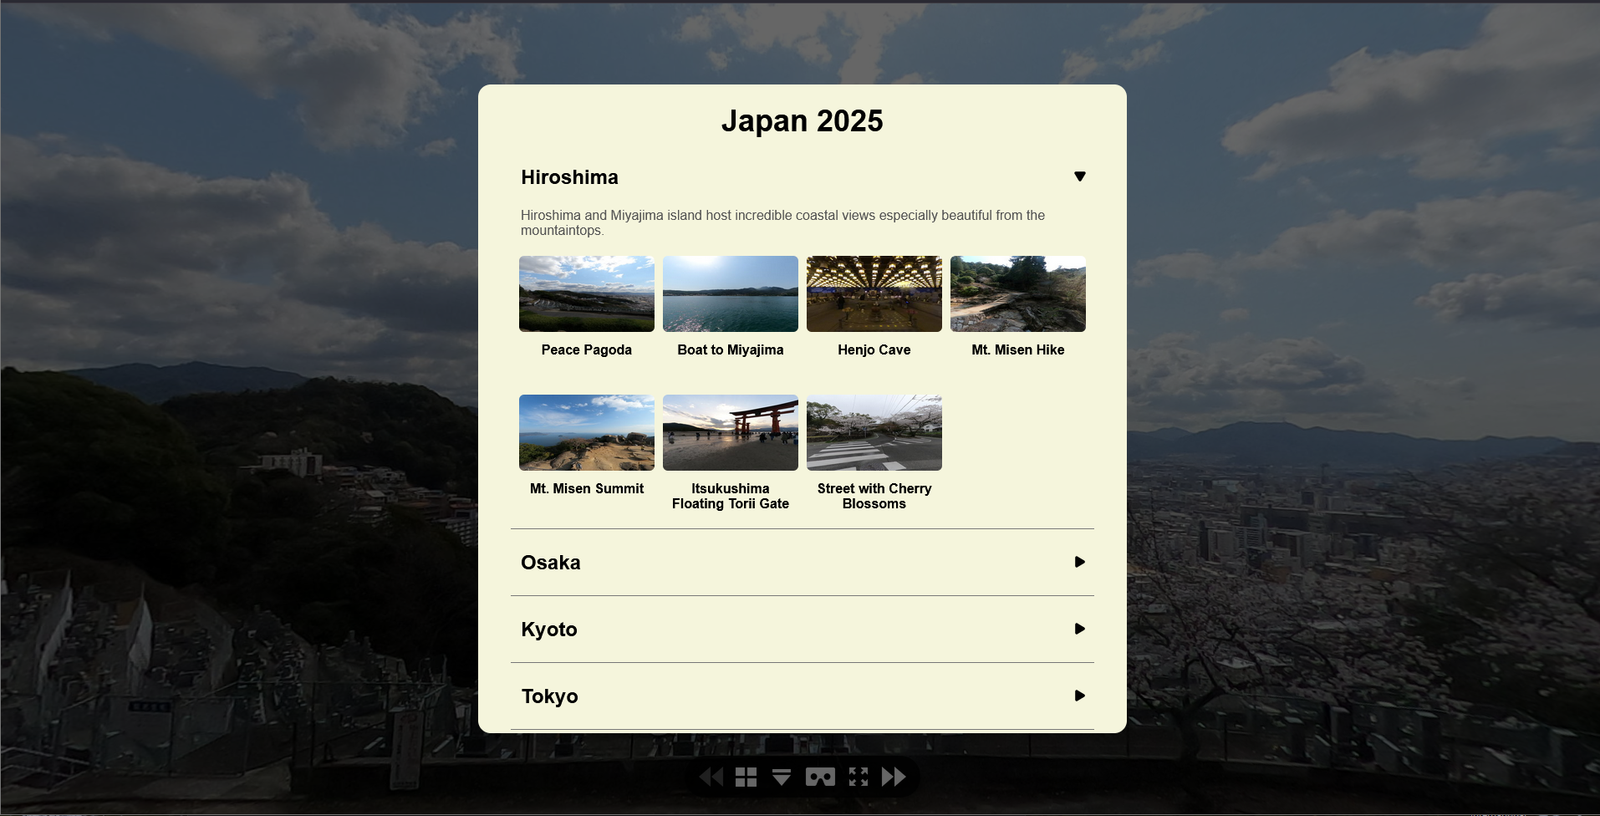
I decided to create a new gallery tool with a user experience more aligned with my expectations. Dropdown tabs allow viewers to quickly see available sections before diving into detailed options.
I also centered the content on the screen so that users on wide displays can view everything comfortably without excessive head movement.
Additional optional design features include single-column layouts that slide in from the side. Overall, the use of tabs and centered content provides a strong experience for navigating dense 360 galleries and offers a practical alternative when a 3D visualization is not available.
Summary
My current workflow for 3D visualizations works well for single-floor, small-scale spaces but does not yet scale to multi-level, room-dense locations. These exercises helped identify the research paths needed to better support such projects.
Workflow adjustments are necessary to improve remodeling efficiency and reduce the burden of loading and baking panoramas. Once these changes are made, the 360 tour system is ready to support them with new multi-floor features, including transparency and optional exteriors.
In the meantime, improvements to the Gallery View will benefit both standalone 360 galleries and dense multi-floor tours.