
Accomplishments:
- Drone Hotspots
- Information iFrames Hotspots
- Brand Watermarks
Bonus:
- Click to walk 360 Tour
- Click to walk 3D Tour
- 3D Cursor Workflows
360 Tours capture a moment in time for the viewer to visibly immerse themselves in. Information like touch, and historical significance, may not be easily conveyed by 360 photography alone. With accessory information, like branding, iframes, and drone views, the user can take their understanding beyond first person, with a birds eye view, and supplemental details. And when they are ready, they can now turn interest into action with the ability to book and purchase from within the tour.
Drone Hotspots


Drone shots can provide views of a space unlike most have ever seen. Viewers can see the plot layout, the landscapes near and far, and so much more. What makes it so amazing is the same thing that makes it abnormal. Walking through a tour, you often click on a hotspot, and your expectation is to transition to that space on the floor.
When you enter a drone hotspot, you will be clicking the sky, which is much different from the floor. How do you convey that?
To showcase the difference in transition, I went through a variety of considerations. Birds, eyes, skylines, and more. None seemed to intuitively convey the transition in all cases. Not every drone shot will be near a city, eyes are already used as a button to show and hide, and birds don’t hover, they soar.
I decided to create a simple icon for a quad-rotor drone. These have become a standard with drones, have grown in popularity, and appear unlikely to be mistaken as another feature.
Information iFrames Hotspots
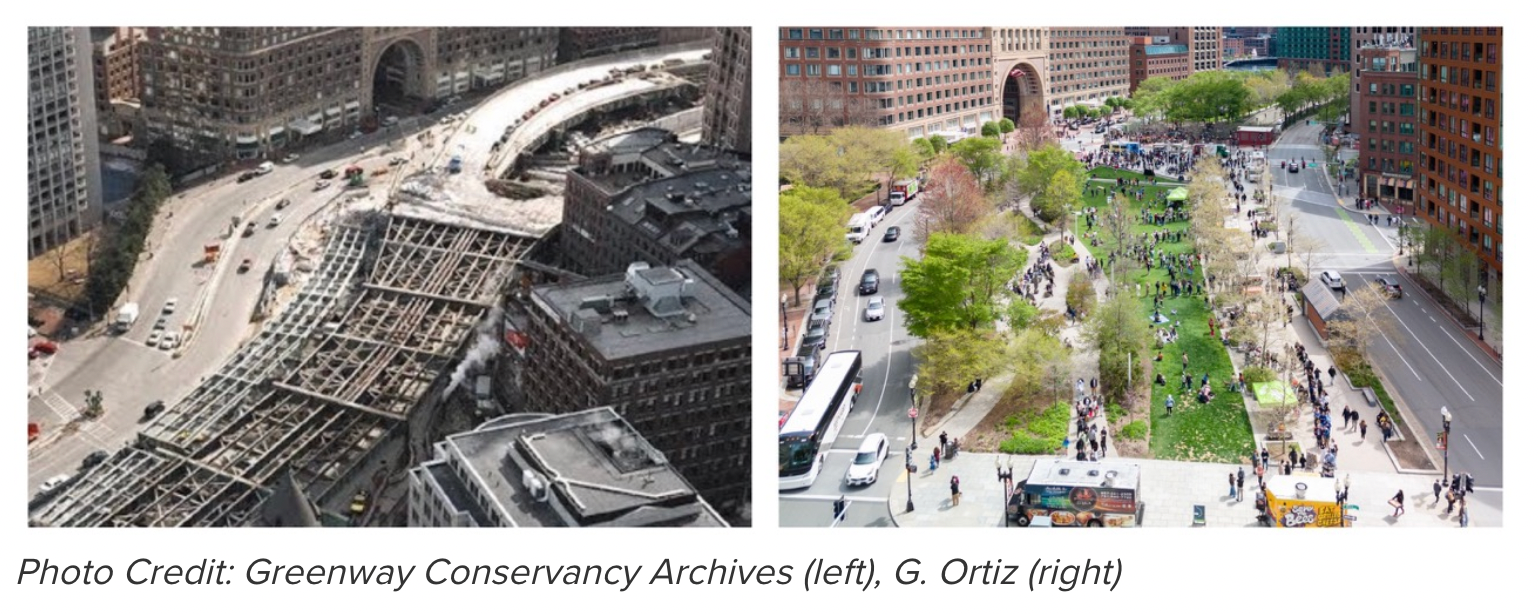
Virtual tours excel at providing spatial information in an immersive way to the viewer. Sometimes it’s important to convey specific details about a space which aren’t easily conveyed visually. For instance, Boston’s Rose Kennedy Greenway includes a plaque.
A tourist wouldn’t immediately be aware that the space used to be a concrete overpass. With a placard, they can learn about the history, including the time, effort, and frustration it took to change the place in such a way. With information hotspots, we can share any information directly within the tour.
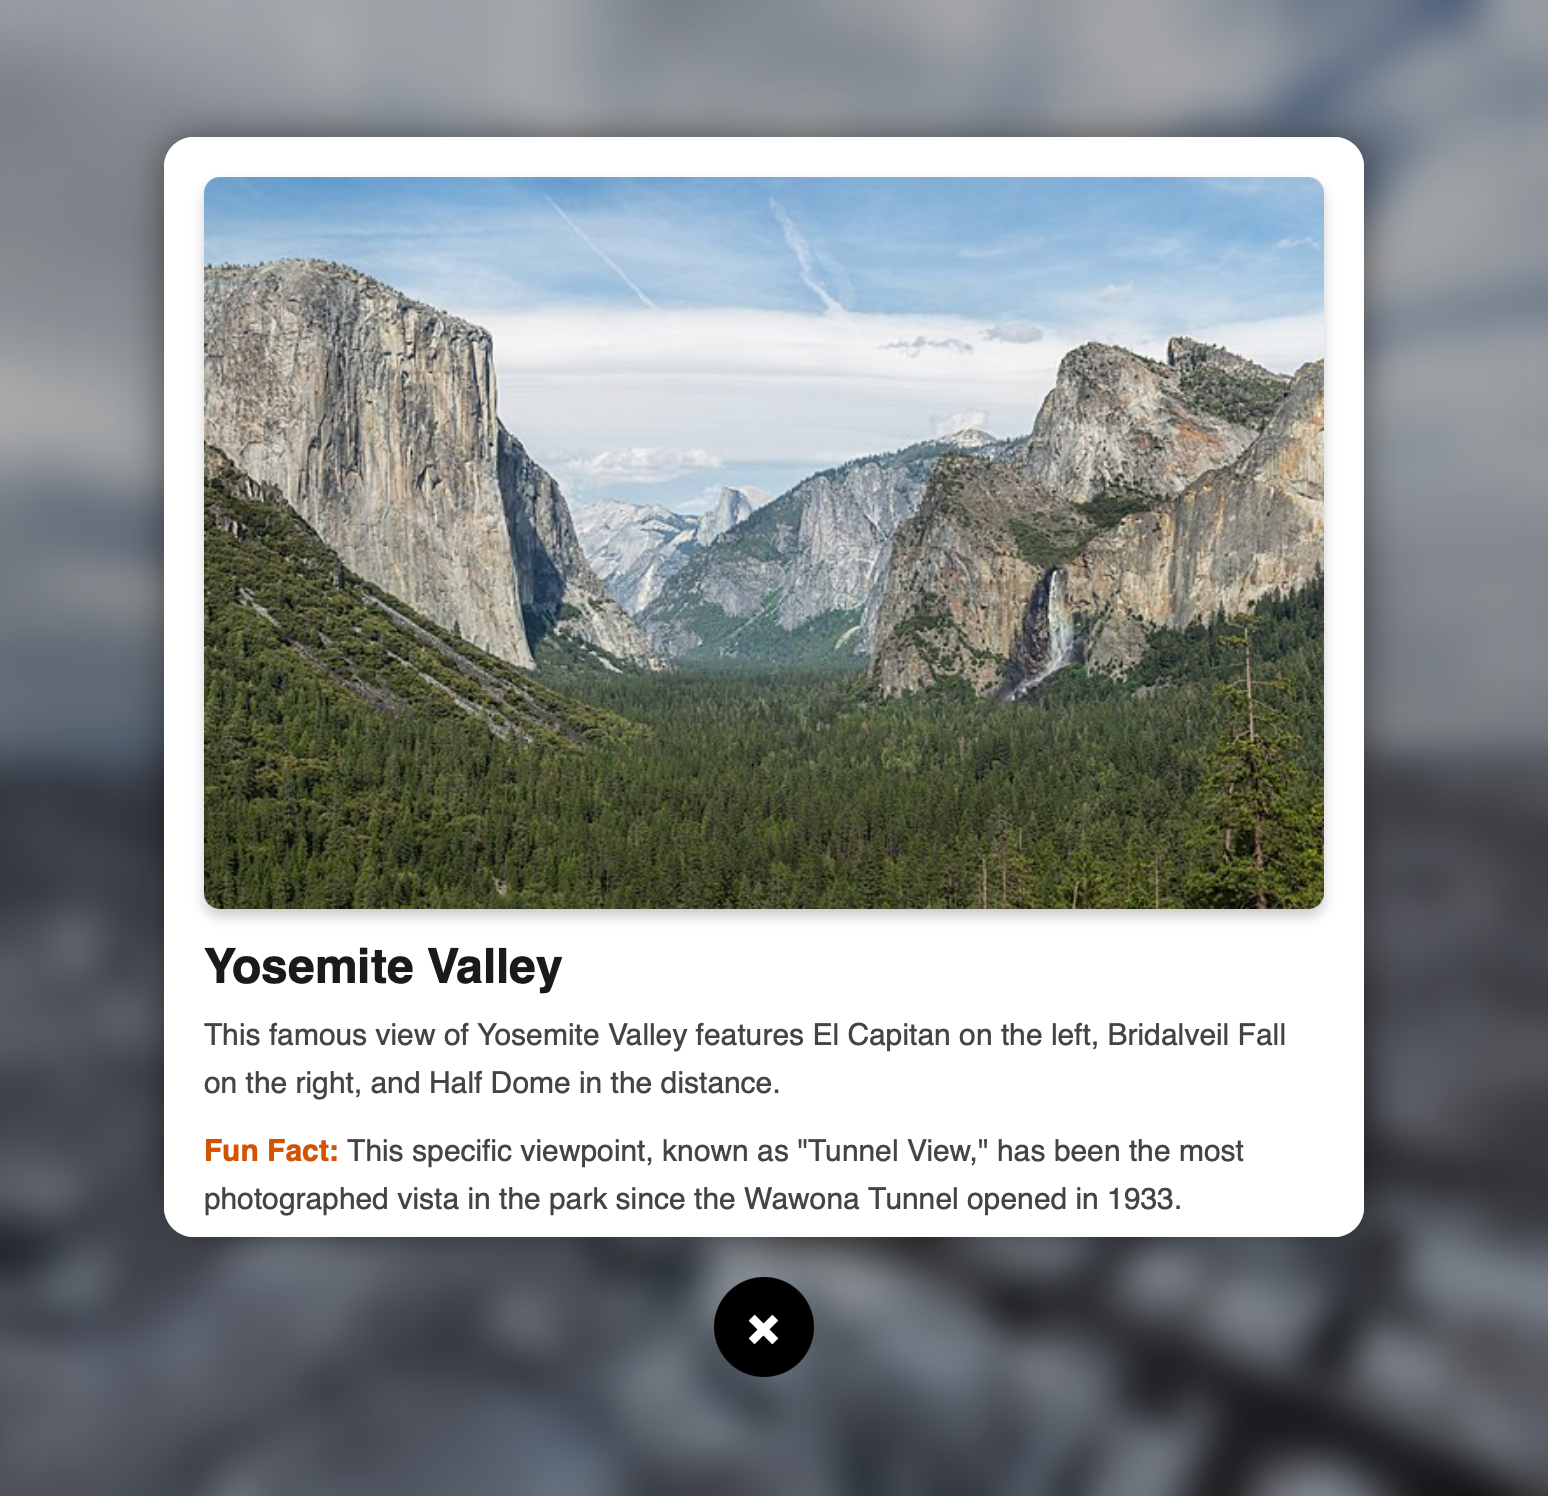
Information hotspots open a window within the tour. It works like an iFrame on other websites. iFrames let you put another webpage, within a window, or “frame”, in your webpage.
This gives us the ability to make custom information cards with HTML, or link any existing webpage. This flexibility gives the feature the opportunity to satisfy many needs, from historical placards to space details like operation hours, and even opportunities to convert interest to action by linking conversion or purchase pages right into the tour.
This feature was added into a tour by creating a new icon and hotspot style for the user to see. When the user interacts with this, it relies on a new iframe_popup plugin I created.
This plugin takes control of the scene, blurring the background and disabling controls to bring focus to the iframe. The iframe can link to either a local folder with tour-specific HTML files, or separate webpages.
Brand Watermarks
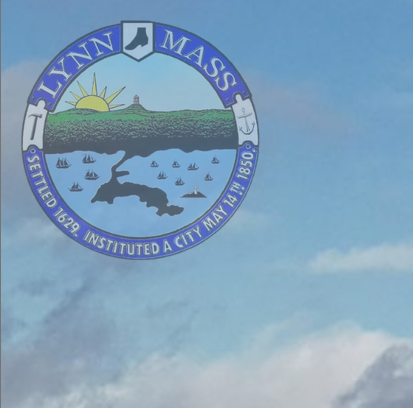
If a user is browsing multiple tours, or trying to remember where the current tour is from, some level of brand identity can be helpful. This reminds the user who the tour relates to and helps the business reinforce its presence.
I added a new section to the tour display that allows a brand image to be included. This is customizable from the tour.xml and can be set to different levels of transparency to balance visibility with its effect on immersion. It can also be optionally hidden when the toolbar or hotspots are toggled.
Bonus: Click to Walk 360 Tour
When navigating a 360 tour, you may not always want to click directly on the hotspots. It can get frustrating to click close and not receive a response. This goes along with the recent feature of hiding hotspots.
Repeatedly hiding and unhiding hotspots when moving between rooms can grow cumbersome. What if you could click in some direction and go there?
I came across an existing plugin by LastRomantik which does just this for standard 360 tours. I tested this plugin against an example tour, and when enabled it does a good job at navigating to the nearest hotspot when the user double-clicks, regardless of the hotspot’s visibility.
Bonus: Click to Walk 3D Tour
When navigating a tour, 2D or 3D, it can be annoying when nothing happens when you click. Responsiveness is important for any user experience. How can we better navigate 3D tours and inform the user when there are no more locations in a certain direction?
We can use a Click and Go workflow, similar to the one mentioned above. I began creating a custom plugin that works for 3D scenes.
3D scenes come with more challenges than their 2D alternatives. When the user double-clicks, it draws a line, or casts out a ray, from the camera through the mouse and the scene. It then determines which hotspots are closest to the ray.
If the user double-clicks a wall or a ceiling, there may be a hotspot behind it. It’s unnatural to teleport through walls and ceilings, so these hotspots must be ignored.
This proved surprisingly challenging. Through trial and error, I was unable to accurately test for hits of the ray and the 3D model in the scene. After stepping away, I considered other examples or features that may already solve this problem.
I found an example where a 3D cursor is implemented in KRPANO. This is an image which follows your mouse while clamped onto the 3D model. After reviewing this logic, I was able to properly hit test the 3D model and begin ignoring hotspots that are not visible to the user.
This provides a better experience with fewer breaks in immersion. I also made sure to include visual negative feedback.
Some tours may have doorways or balconies with no other images beyond them. If a user navigates the tour without hotspots, they may not know that they have reached a boundary. A slight bounce occurs and indicates to the user that for more locations they will want to look in another direction.
Bonus: 3D Cursor
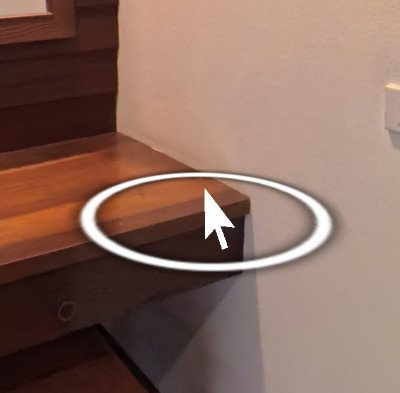
In 3D scenes there are few indicators of depth. When the user transitions between a scene or views the dollhouse, it is pretty apparent, as well as when a hotspot is semi-occluded by a wall or structure.
A 3D cursor can further this sense of depth and help better orient the user when they are making a selection. During a stall in researching 3D click and go functionality, I came across an example of a 3D cursor used in the same 360 tour software.
With some slight modifications for customizability, I was able to implement a 3D cursor that allows for more depth information and more precise selection when viewing tours in 3D.
Summary
With sky views via drones, the user can become even more spatially aware, even in 2D tours. Immersion is great and can often lead to action. If the desire for more information, to take action on a purchase, or to inquire further occurs, information hotspots will be available to make that step quicker and easier for viewers.
With this accomplished, I was able to research new topics. Through this, I was able to greatly expand the viewer’s ability to navigate virtual tours. With or without hotspots, click and go navigation lets people explore fully immersed in the panoramic photos. And when hotspots are shown, a 3D cursor can better display where those clicks are occurring.